When traveling abroad, get a policy from one of the best travel insurance companies. You can get a 5% discount on Heymondo, the only insurance that pays all medical bills upfront for you, HERE!
Are you planning a hike from rim to rim at the Grand Canyon? You’re in the right place! This is one of the most epic adventures in the national park and definitely one of the most challenging. But trust me, it’s absolutely worth every step.
While it’s one of the best hikes in the Grand Canyon, not everyone can pull it off. It’s a long, energy-consuming journey that takes a lot of preparation and planning. But don’t worry! I’m here to guide you through it all! I’ll cover everything from choosing the best Grand Canyon Rim to start your hike to managing your time, picking the perfect places to rest, and more.
Ready to lace up your hiking boots and hit the trail? Let’s dive into what makes the Rim-to-Rim hike so special and how you can prepare for an unforgettable adventure!
Guide to the Rim-to-Rim Trail at the Grand Canyon
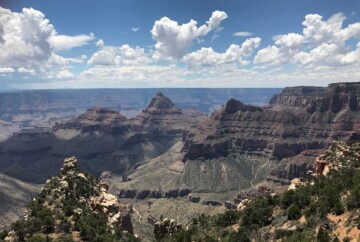
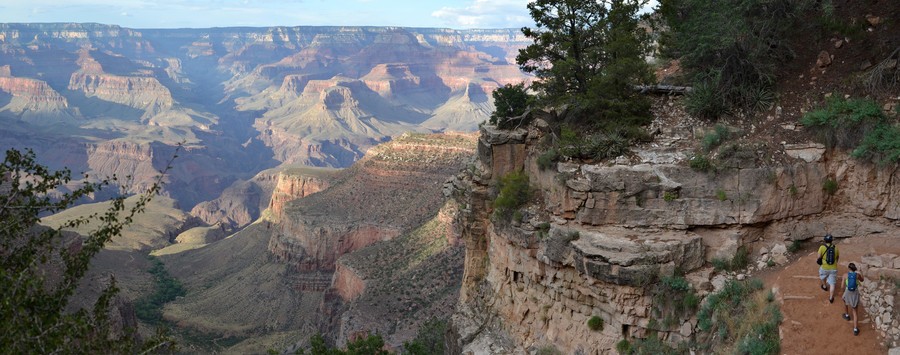
There are plenty of things to do in the Grand Canyon, but for me, nothing quite compares to the thrill of the Rim-to-Rim hike. The entire distance from Rim to Rim in the Grand Canyon is roughly 24 miles, and there’s a lot to see on this long stretch.
Guide to the Rim-to-Rim Trail at the Grand Canyon
What I absolutely loved about this hike was the incredible variety of ecosystems. You start in the lush forests of the North Rim, descend into the vibrant inner canyon with its stunning rock formations, and finally, make your way up through the arid desert terrain of the South Rim. The elevation gain throughout the Grand Canyon Rim-to-Rim trail is no joke—around 5,800 feet—and that’s exactly what creates such a diverse landscape.
Historically, the Rim to Rim Trail has been used by Native American tribes for trade and ceremonial purposes, so it’s been a cherished path for generations. But over time, it has become one of the most popular hiking routes in the US, so I’m going to help you prepare for it. Here’s a brief breakdown of what I’ll cover in this guide.
- Where to start the Rim to Rim hike
- How to choose the best Grand Canyon Rim-to-Rim route
- How long does it take to hike Rim to Rim in the Grand Canyon
- Rim to Rim shuttle and logistics
- The Rim to Rim itinerary we did and recommend
- Best time to hike the Grand Canyon Rim to Rim
- Grand Canyon Rim to Rim hike safety considerations
- Grand Canyon Rim-to-Rim packing list
- Grand Canyon Rim-to-Rim trail map
Where to start the Rim to Rim hike
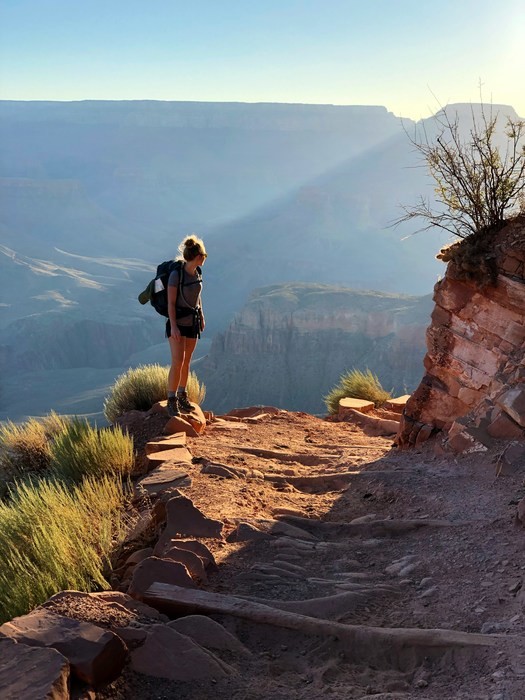
When it comes to the Rim to Rim hike in the Grand Canyon, I always recommend starting from the North Rim. The North Rim sits at a higher elevation, so starting here will save you from having to climb up it later at the end of the hike. Once you’re at the bottom of the canyon, it’s much easier to hike up the South Rim than the North Rim. This can make the hike feel a little less intense compared to starting at the South Rim and finishing at the North Rim.
Where to start the Rim to Rim hike
There are some other key differences between the North Rim vs. the South Rim. Starting at the North Rim gives you a chance to ease into the hike with a gradual descent. Plus, the North Rim offers breathtaking vistas and a more peaceful experience at the start since it’s less crowded than the South Rim. So, if you’re gearing up for this epic trek, starting at the North Rim might just be the perfect choice!
How to choose the best Grand Canyon Rim-to-Rim route
There are two main ways to complete the Rim-to-Rim hike in the Grand Canyon: connecting the North Kaibab Trail and the Bright Angel Trail or connecting the North Kaibab Trail and the South Kaibab Trail. Here, I’ll explain the features, distance, and difficulty of each of these trails to help you decide on the best combination for you.
North Kaibab Trail, the hike to get to the bottom of the Grand Canyon from the North Rim
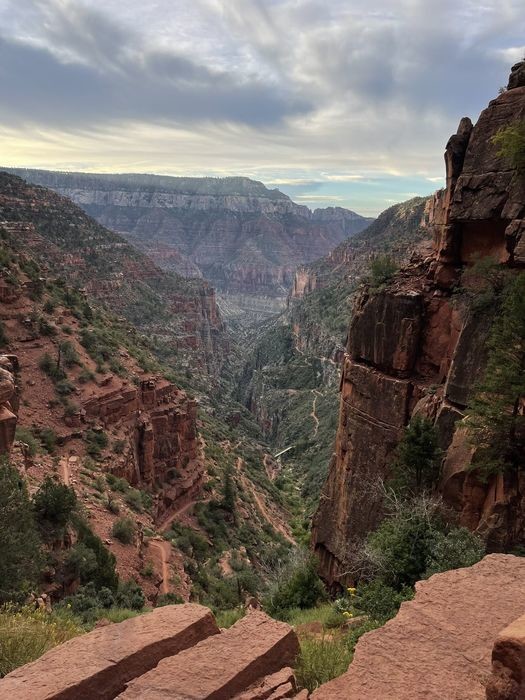
Starting from the North Rim, there’s only one way to the bottom of the canyon, and that’s via the North Kaibab Trail, one of the most popular hikes at the North Rim. Spanning about 14 miles, this trail takes you through stunning landscapes, from lush forests to rugged rock formations.
As you hike down, you’ll experience a significant elevation drop—over 5,800 feet! It’s a steep descent, so be prepared for a challenging trek.
North Kaibab Trail, the hike to get to the bottom of the Grand Canyon from the North Rim
One of the most beautiful spots I recommend visiting along the way is Roaring Springs, located nearly a 4.7-mile hike down the North Kaibab Trail. It’s a beautiful stop with water cascading down the canyon walls.
- Distance: 14 miles (one way)
- Duration: 6-7 hours
- Maximum elevation gain: 5,850 ft
- Difficulty: Strenuous
- Obstacles: Long distance, steep descent, rocky terrain, some scrambling, no shade
- Water sources: During the open season, drinking water is available at the trailhead, Supai Tunnel, the Manzanita Rest Area, Cottonwood Campground, and Bright Angel Campground. From Roaring Springs to the Colorado River, the trail is never far from creeks that can be treated for drinking.
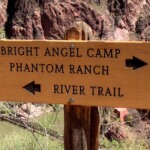
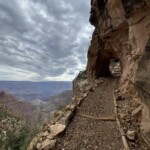
- Resthouses and other points of interest: Coconino Overlook (0.7 miles), Supai Tunnel (1.6 miles), Redwall Bridge (3 miles), Roaring Springs (4.7 miles), Manzanita Rest Area (5.4 miles), Cottonwood Campground (6 miles), Ribbon Falls (7.5 miles), Phantom Ranch (13 miles), Bright Angel Campground (14 miles).
Hikes to get to the South Rim from the bottom of the Grand Canyon
You have two main routes to reach the South Rim from the Colorado River. You can go via Bright Angel Trail or the South Kaibab Trail.
Bright Angel Trail
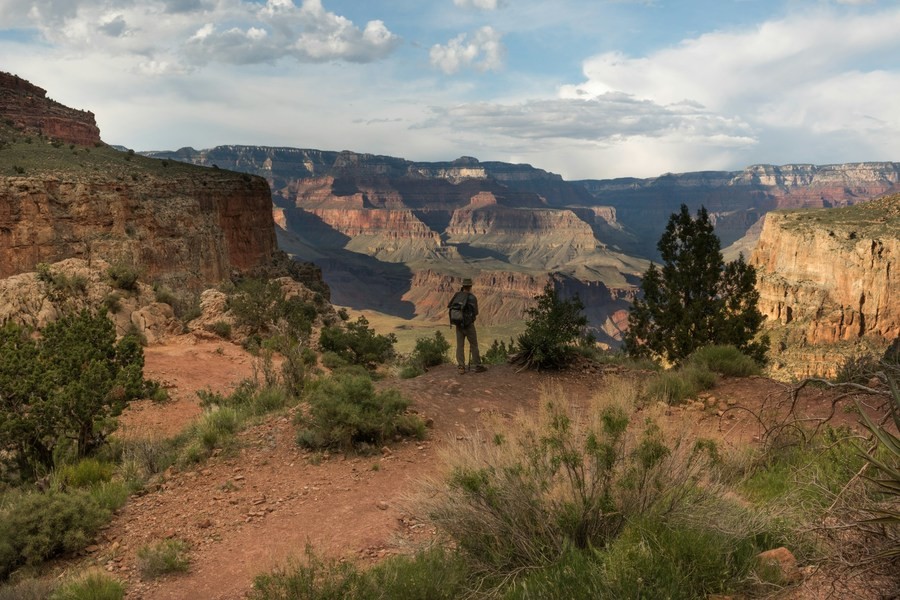
The Bright Angel Trail is one of the two main routes used to connect the Grand Canyon North Rim to the South Rim. It stretches about 9.5 miles and is a bit easier on the legs compared to the steeper South Kaibab Trail (the other popular alternative from the Colorado River to the South Rim).
Starting at Phantom Ranch, the trail meanders up through lush greenery with plenty of rest stops along the way, which makes it a great choice for less experienced hikers.
Bright Angel Trail
I personally prefer the Bright Angel Trail because it has reliable water access and resthouses spaced out perfectly. Plus, the trail’s gradual incline and shaded sections here and there make the challenging climb a bit easier.
- Distance: 5 miles (one way)
- Duration: 7-8 hours
- Maximum elevation gain: 4,478 ft
- Difficulty: Strenuous
- Obstacles: Long distance, steep ascent, and potential hazards like severe weather, overexertion, and dehydration.
- Water sources: From early May to early October, drinking water is available at the trailhead, Mile-and-a-Half Resthouse, Three-Mile Resthouse, Havasupai Gardens Campground, and Bright Angel Campground. Drinking water is available year-round at Havasupai Gardens and Bright Angel Campground.
- Resthouses and other points of interest: Resthouses at 1.5 miles, 3 miles, and Havasupai Gardens Campground (4.2 miles from the trailhead at the South Rim – Not from the Colorado River).
South Kaibab Trail
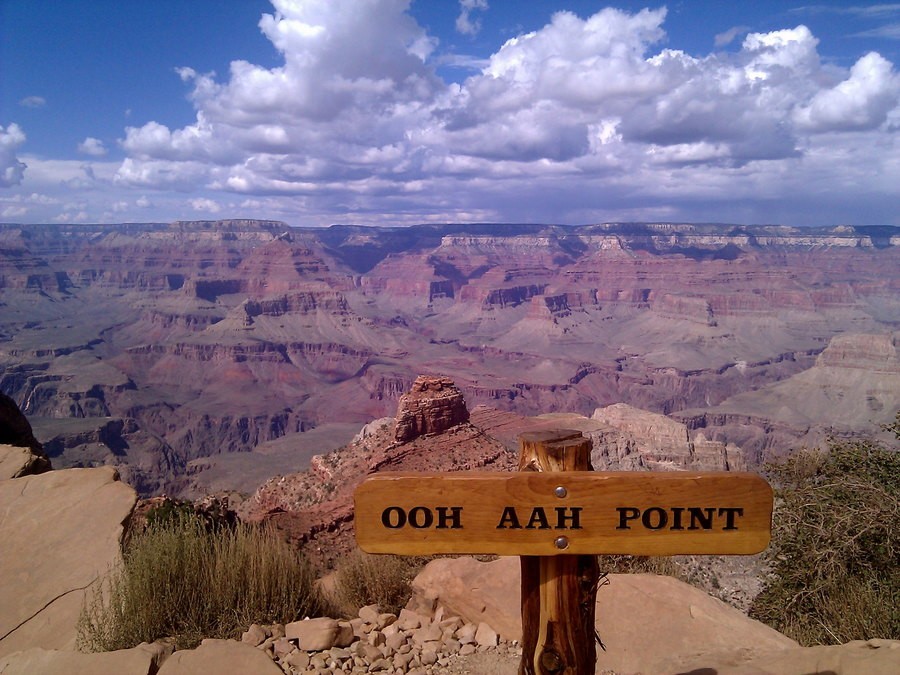
The South Kaibab Trail is the more challenging route for hiking from the Colorado River to the South Rim. Spanning about 7 miles, this trail links the Grand Canyon North Rim to the South Rim with a steep and rugged ascent. While it’s one of the most scenic hikes in the South Rim, it might not be the best choice for beginners.
South Kaibab Trail
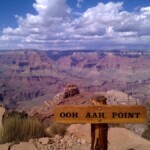
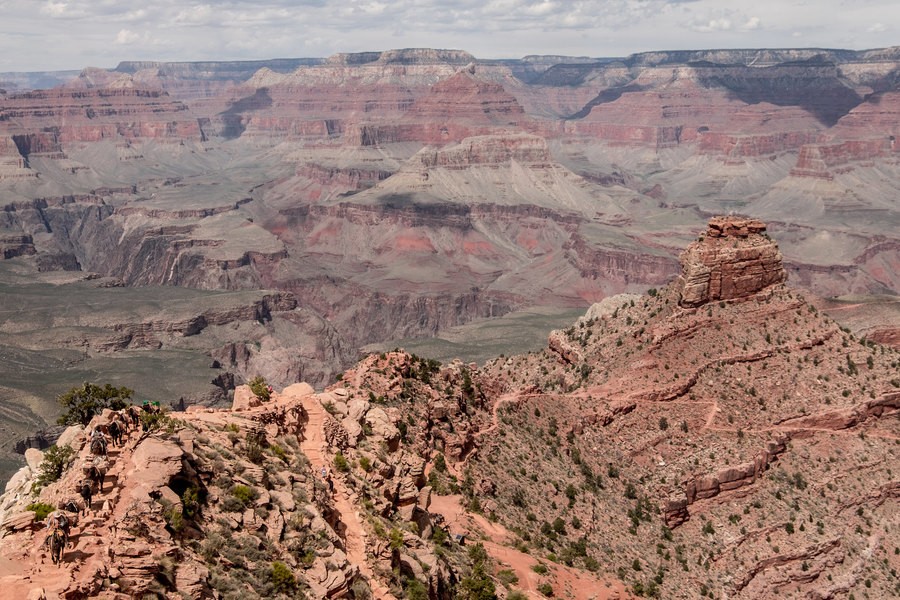
The South Kaibab Trail is more exposed than the Bright Angel Trail, so you’ll find less shade. There are no resthouses or water stations on this trail, except for a spring-fed water filling station at the trailhead during the summer, so you have to bring plenty of water. Despite its difficulty, this trail offers some of the most striking viewpoints in the Grand Canyon, including Ooh Aah Point, Skeleton Point, and Cedar Ridge.
- Distance: 8 miles (one way)
- Duration: 7-8 hours
- Maximum elevation gain: 4,734 ft
- Difficulty: Strenuous
- Obstacles: Long distance, steep ascent, and potential hazards like severe weather, overexertion, dehydration, and wildlife encounters. Very little shade.
- Water sources: None on the trail. Carry ample water.
- Resthouses and other points of interest: No resthouses. Key points include Ooh Aah Point (0.8 miles from the trailhead), Cedar Ridge (1.3 miles from the trailhead), and Skeleton Point (2.8 miles from the trailhead at the South Rim – Not from the Colorado River)
How long does it take to hike Rim to Rim in the Grand Canyon?
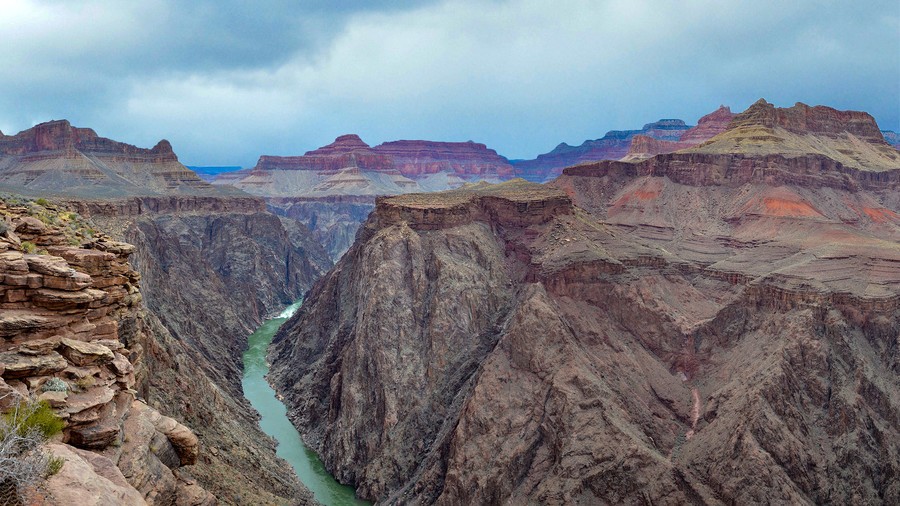
On average, the Rim-to-Rim hike in the Grand Canyon takes about 12 to 16 hours to complete, which you can tackle in one day or spread out over several days. However, the exact time can vary depending on your chosen route, pace, and fitness level. Remember that the distance from the North Rim to the South Rim is around 24 miles, so you’ll need to account for breaks and hydration along the way. It’s not just 12 hours of straight walking!
How long does it take to hike Rim to Rim in the Grand Canyon?
When we did the hike, we took it easy, having planned the trip months in advance. We spent 3 days in the Grand Canyon, enjoying the experience. But if you’re short on time, you can definitely do it in less—2 days, or even in one (though I don’t recommend that!)
Rim to Rim shuttle and logistics
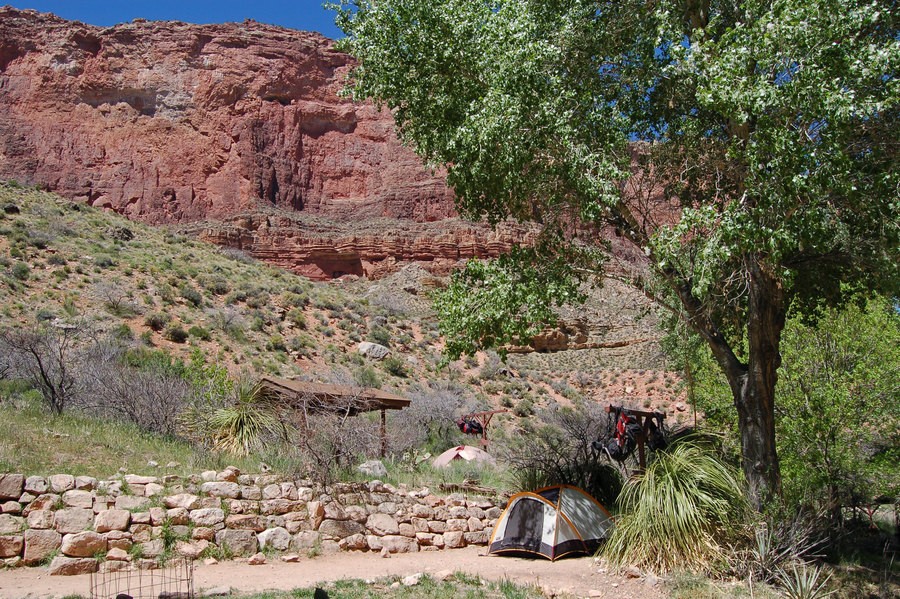
Planning a Grand Canyon Rim-to-Rim hike involves some logistics, especially since the point is to end your journey at a different rim from where you started.
The drive between the North Rim and South Rim is about 4 hours (over 210 miles). If you’re exploring the Grand Canyon by RV or just traveling by car, my recommendation is to park your vehicle at the end of the trail and arrange a shuttle to the trailhead the day before you start hiking. This way, your vehicle will be waiting for you at the end of the hike, and you don’t have to worry about finding a ride to get back to it.
This option does require booking accommodation at the starting rim, so you’ll need to plan for a night (or more) there and make sure you have only your hiking backpack with you during that time.
Another option is to book the shuttle for the day after you finish the hike. This gives you the chance to rest and enjoy the rim where you’ve ended your hike before making the return journey. However, you’ll need to arrange accommodation on that rim for the night as well, and you won’t have anything other than the things you’ve been hiking with. I promise you will be dying for clean clothing by then!
Rim to Rim shuttle and logistics
Of course, you can also book a shuttle for the same day you finish the hike, but I DO NOT recommend it at all. After a long day of hiking, the last thing you want is the stress of rushing to catch a shuttle back to your starting point.
If you’re not traveling with a car or RV, consider hiring a luggage transport service. This option ensures your luggage is waiting for you at your destination once you complete the hike. Of course, this is a good option only if you’re NOT using a vehicle, as your car or RV would still be parked at the starting rim.
Whatever logistic option you choose, here’s a crucial tip—make sure to book your rim-to-rim shuttle months in advance. The demand is high, and spots fill up quickly, so planning ahead will save you a lot of headaches later on.
There are several companies that provide this service, and you can find them here (look for “Rim to Rim” as the location).
Getting to the Grand Canyon Rim-Rim trailhead
If you’re beginning your hike at the South Rim, you have two main options:
- For those starting on the South Kaibab Trail, the trailhead is at Yaki Point, which is only accessible by shuttle bus. The free park shuttle is your best option, as private vehicles are not allowed at Yaki Point road. Take the Kaibab Rim (Orange) Route.
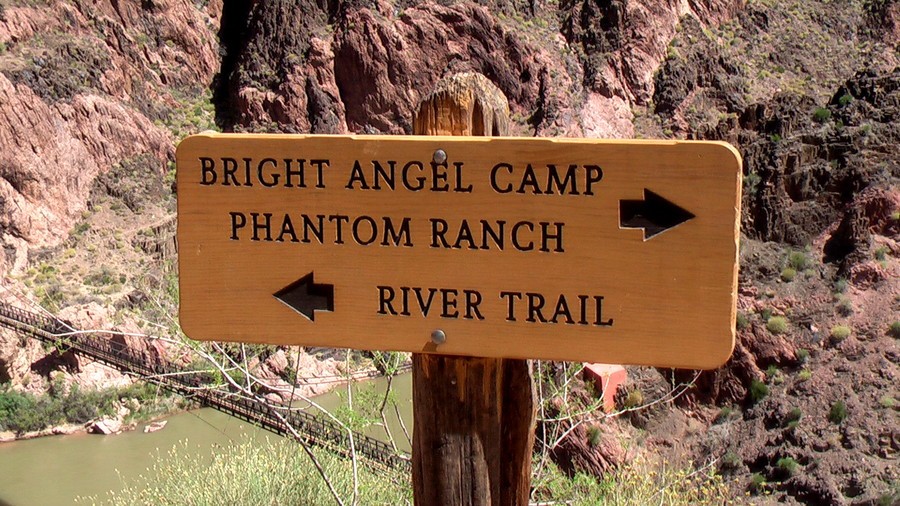
- If you’re starting on the Bright Angel Trail, you’ll head to the Bright Angel Trailhead in Grand Canyon Village. This one is more accessible—you can reach it via the free shuttles, by private vehicle, or even on foot if you’re staying nearby.
Getting to the Grand Canyon Rim-Rim trailhead
For those beginning their journey on the North Rim, you’ll start at the North Kaibab Trailhead. This trailhead is accessible by foot, private vehicle, or a private North Rim trailhead shuttle. If you opt for a private shuttle, be sure to book it well in advance, as these services are in high demand and can fill up quickly.
If you’re looking for budget-friendly options, you could try hitchhiking or even walking, but keep in mind that these can be time-consuming and exhausting, and you might not arrive at your starting point on time or as fresh as you’d like. The shuttle services, on the other hand, are super convenient and reliable.
The Rim-to-Rim itinerary we did and recommend
We started our adventure with a fun road trip from Las Vegas to the Grand Canyon, taking time to stop at Lake Mead and the Hoover Dam. With those stops, the drive took us about 6 hours, covering around 280 miles.
It was early September, and surprisingly, the South Rim greeted us with nice weather —chilly even! We had a room reservation at Bright Angel Lodge, one of the most charming cabins at the South Rim. After parking the car, we spent the afternoon exploring the Village but made sure to save our energy for the big hike ahead!
The next morning, we hopped on the Grand Canyon Rim-to-Rim shuttle at 7:00 a.m. and arrived at the North Rim by 11:30 a.m., just in time for lunch. The shuttle was a bit pricey at $240 for two seats, but it was super comfortable.
After lunch, we spent the afternoon exploring Bright Angel Point and the Transept Trail, two of the most stunning attractions in the North Rim. That night, we stayed at the Grand Canyon Lodge—one of the best hotels in the Grand Canyon. We had no internet and cell coverage but everything else was amazing!
The Grand Canyon Rim-to-Rim itinerary we did
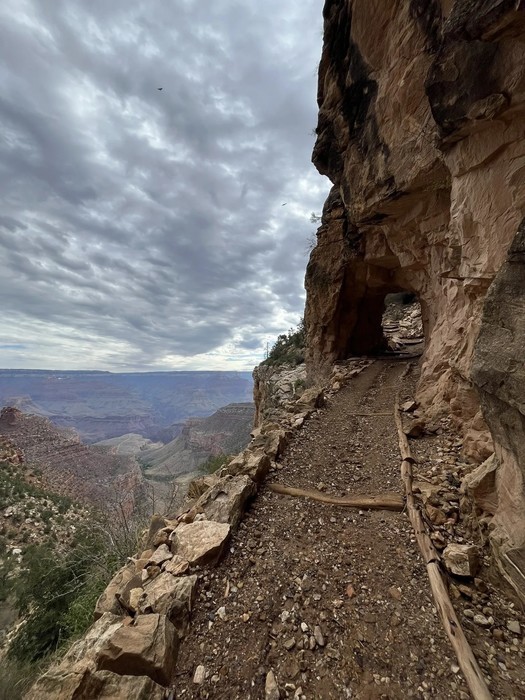
The next morning, we took a private shuttle ($53 for two people) from the lodge to the North Kaibab Trailhead at 4:45 a.m., so we were ready to start hiking by 5:00 a.m. to take advantage of the cool morning temperatures. Knowing the hike would be tough, we kept a slow pace, which gave us plenty of time to take some fantastic photos.
After a 30-minute walk, we reached Coconino Overlook by 5:30 a.m. Our next stop was Ribbon Falls, which we reached around 9:00 a.m. We took a short break, drank plenty of water, and continued the hike.
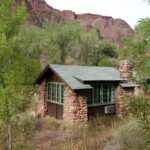
By early afternoon, around 1:30 p.m., we made it to Phantom Ranch feeling pretty exhausted. Our first stop was the canteen to check in for our cabins. We even got a Park Service booklet there about the history of Phantom Ranch, which was a fun read.
Since the canteen only offers sack lunches, we decided to whip up some freeze-dried meals ourselves before heading to our cabin for some much-needed rest. I have to say, the whole ranch experience was fantastic. The attendants were super friendly, the dinner was tasty, and the cabins were clean and absolutely charming—you’ve got to be really lucky to get a spot here!
The Grand Canyon Rim-to-Rim itinerary we recommend
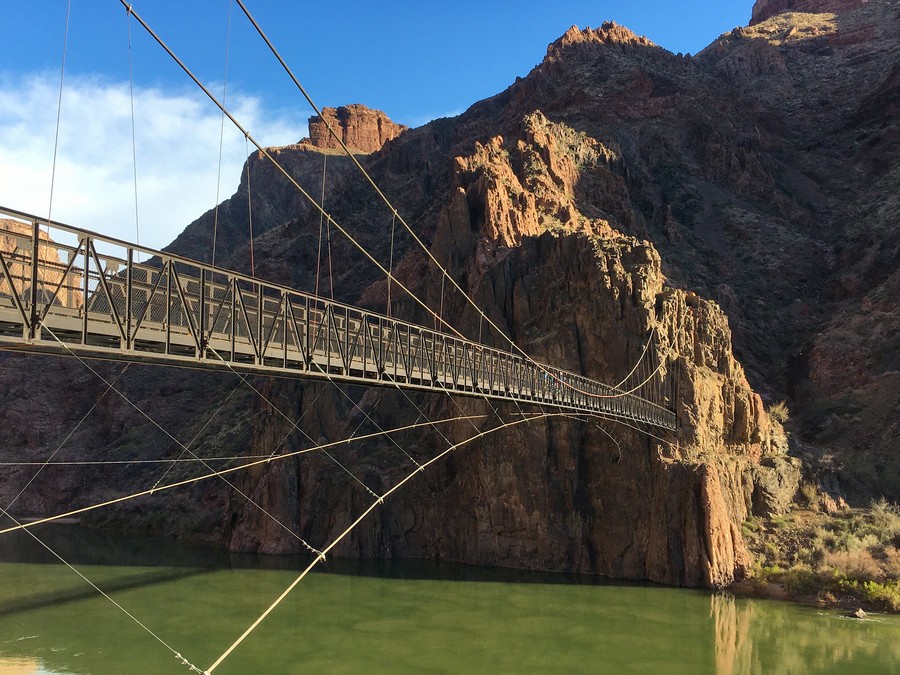
The next morning, we set off on a sunrise hike to Phantom Overlook, where we were treated to fantastic views of the river, the ranch, and the bridges. After some needed resting time, we hiked to the Havasupai Gardens Campground and took the detour to Plateau Point, which is not technically part of the Rim-to-Rim trail but was absolutely worth it!
The hike to Plateau Point took about 3 hours from the ranch. We wished we could have visited it at sunset, but we didn’t want to risk hiking back in the dark. After an hour of soaking in the views, we hiked another 45 minutes to Havasupai Gardens Campground, where we set up camp for the night.
On the final morning, we began our ascent up the Bright Angel Trail, aiming to reach the South Rim before noon. We arrived back at the village around 10:30 a.m., tired but happy to have completed the journey. Thankfully, our car was parked nearby, so we could kick back, relax, and enjoy the rest of the day without any worries!
- Distance: 24.5 miles
- Duration: 4 days
- Maximum elevation gain: 5,580 ft
Things we would do differently
While the whole Rim to Rim hike in the Grand Canyon was incredibly enjoyable, there are definitely a few things we’d do differently if we were to go back. For starters, we didn’t spend nearly enough time exploring the North Rim—mainly because we didn’t have our car there!
Next time, we might park our car at the North Rim, hike the Rim-to-Rim trail, stay at the South Rim for a night, and then take a shuttle back to the North Rim to pick up the car and explore the area for another night or two. The North Rim is a bit more rugged and remote, with no park shuttles, so having a car there is a must if you want to venture beyond the lodge and nearby trailhead.
Things we would do differently on the Rim-to-Rim Trail
There are many exciting things to do in the South Rim, even without a car, thanks to the free shuttles that cover most of the major attractions. You can easily spend a few days there using the shuttles to see all the sights. However, you’ll need a car to visit Desert View Drive and the Desert View Watchtower. I recommend planning to spend at least one night in one of the top South Rim hotels to fully enjoy the area.
Another thing we’d change is how we packed. Since we were carrying all our camping gear, we had to keep our backpacks light, which meant not packing many extra clothes. Next time, if we book the shuttle for the day after we finish the hike, we’d definitely hire a luggage transport service so we can have clean clothes and personal items waiting for us when we arrive at the South Rim.
Where to spend the night for a multi-day Rim to Rim hike
First, let’s talk about where to stay in the Grand Canyon before and after your Rim to Rim hike.
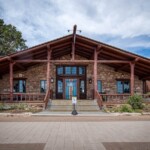
If you’re planning to start from the North Rim, you have a couple of great choices. The Grand Canyon Lodge is super convenient and just a 5-minute drive (2.2 miles) from the trailhead.
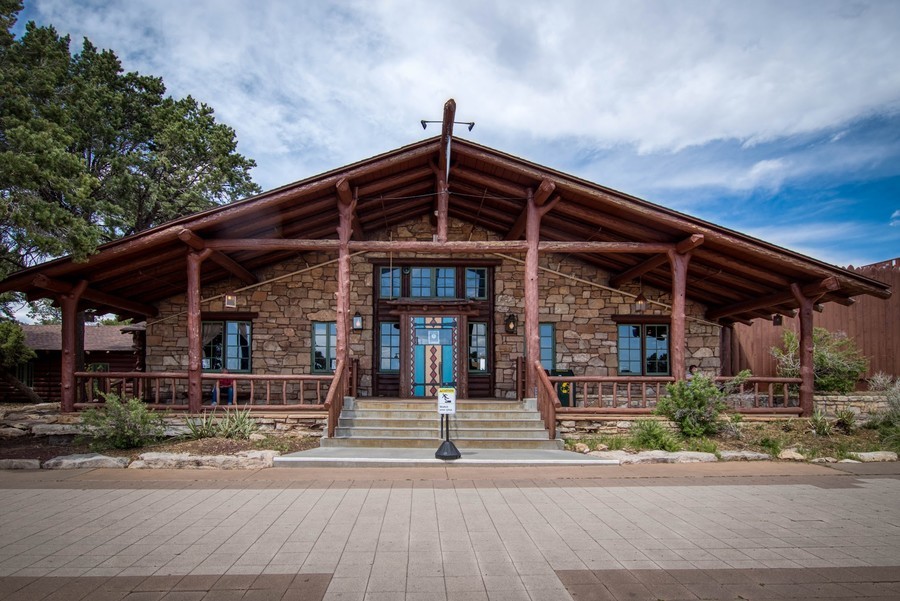
Where to spend the night for a multi-day Rim to Rim hike
Another option is the Kaibab Lodge, which is a bit further away—a 23-minute drive (16.2 miles) from the trailhead—but they offer a shuttle service that takes you straight to the North Kaibab Trailhead for $25 per person. Plus, they run a Rim to Rim shuttle twice daily between the North and South Rim and also from the South to the North Rim.
On the South Rim, my favorite spot is the Bright Angel Lodge—it’s cozy and full of character! But if it’s booked for your dates, don’t worry; there are plenty of other great hotels in Grand Canyon Village to choose from.
Now, let’s dive into the accommodation options if you’re planning a multi-day rim-to-rim hike.
Phantom Ranch, the only lodge along the Rim-to-Rim trail
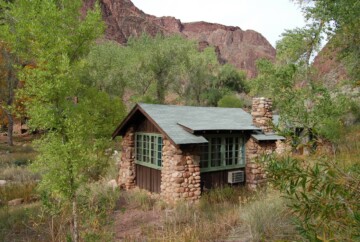
Phantom Ranch is the most popular spot for anyone hiking the Rim to Rim Trail, and for good reason! It’s the only place you can stay right below the Grand Canyon rim, nestled alongside the Colorado River. The only ways to get there are by mule, on foot, or by rafting.
The accommodations include standard cabins for 2 to 4 guests —which rank among the best cabins in the Grand Canyon— as well as dormitories and two larger cabins that can host up to 10 people.
Given how remote Phantom Ranch is, I was really impressed with how well they’ve maintained the place. The cabins are simple, featuring bunk beds or king beds, cold-water sinks, and private bathrooms without showers. Don’t worry, though—there’s a Shower House nearby!
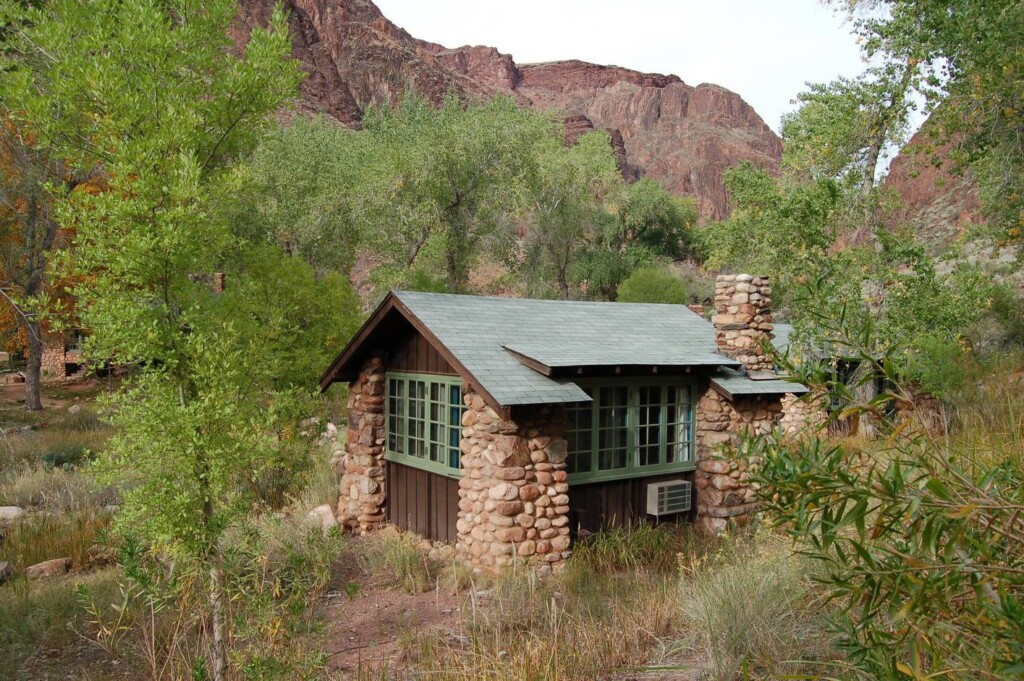
Phantom Ranch, the only lodge along the Rim-to-Rim trail
Since Phantom Ranch is so popular, getting a reservation is a bit of a process. You’ll need to enter the lottery system 15 months in advance. If you’re one of the lucky winners, they’ll send you an email, and you’ll have 10 days to confirm your stay. There’s also a chance to get a spot if any are left unclaimed as part of the “General Availability Reservation”, but these usually get snatched up very quickly, so don’t count on them!
For meals, you’ve got the Phantom Ranch Canteen, which offers exclusive dining just for guests. It’s open every day from 8:00 a.m. to 8:00 p.m., serving breakfast and dinner. Meals cost between $25 and $65, and you’ll need to reserve a table to eat there. We tried both the steak and the veggie options, and I have to say, they were really delicious!
Bright Angel and other campgrounds along the Grand Canyon Rim-to-Rim trail
If you want a closer-to-nature experience, or if you didn’t win the Phantom Ranch lottery, you can go camping in the Grand Canyon. There are three fantastic campgrounds to consider during your Grand Canyon Rim-to-Rim hike:
- Cottonwood Campground is a great spot for camping in the North Rim. It’s located 6.8 miles below the North Kaibab Trailhead, near Bright Angel Creek, with seasonal potable water (available mid-May to mid-October) and basic amenities like an emergency phone and toilets.
- Bright Angel Campground is the more popular option, located just half a mile from Phantom Ranch. The campground offers a ranger station, emergency phone, potable water, and toilets.
- Havasupai Gardens Campground is one of the top places for camping in the South Rim, just 4.2 miles from the Bright Angel Trail trailhead. It features a ranger station, emergency phone, potable water all year round, and restrooms.
You won’t need a backcountry permit for the Rim-to-Rim Grand Canyon hike. However, if you’re planning to camp in any of these three campsites or anywhere else in the backcountry, you need to secure a backcountry permit online. To do so, you need to apply for a specific use area, date, and group size. Some areas, like Bright Angel Campground, are super popular, so getting a permit can be tricky.
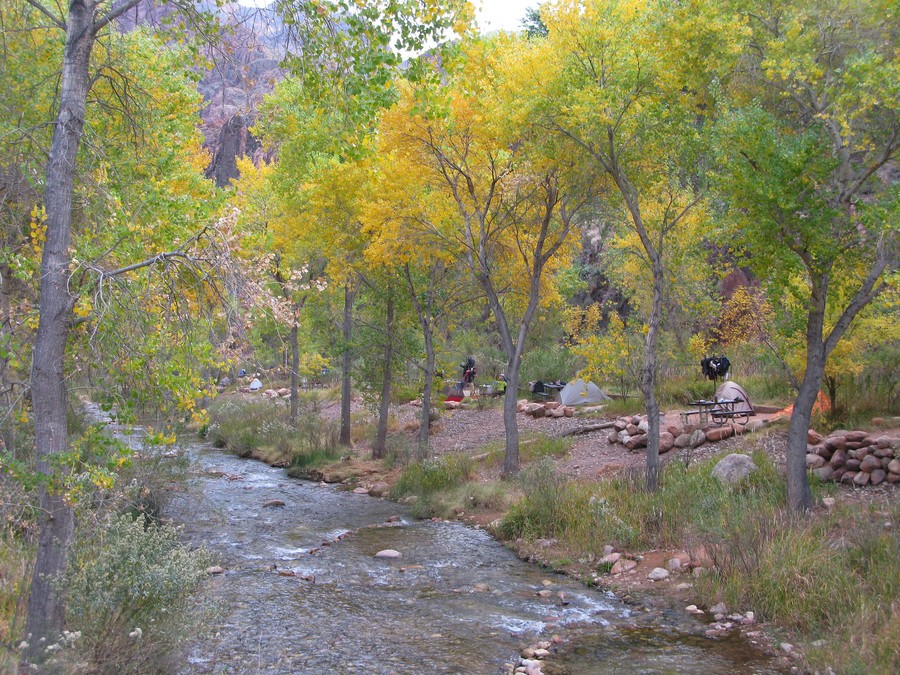
Bright Angel and other campgrounds along the Grand Canyon Rim-to-Rim trail
To increase your chances, apply for the early access lottery during the two-week period ending on the 1st of the month, four months before your desired start date. For example, if you’re hoping to start your hike in November, apply in the two-week window ending on July 1st. Winners get notified the following day and can select their dates and pay for their reservation.
Permits cost $10 per application, plus a nightly fee of $15 per person for below-rim areas (or $4 per person for above-rim areas). You can find the different Use Areas here. The Cottonwood Campground code is CCG, the Bright Angel Campground code is CBG, and the Havasupai Gardens Campground code is CIG.
Meal planning to hike the Grand Canyon Rim-to-Rim trail
Planning your meals for backpacking the Grand Canyon Rim to Rim is super important—this trek is exhausting, and you’ll need plenty of fuel to keep going!
If you’re staying at Phantom Ranch, consider booking breakfast and dinner at the Canteen. Not only does this save you from carrying extra food, but the meals are delicious and filling. Plus, if you’re not staying overnight but need a boost, they offer sack lunches without a reservation. These lunches come packed with good stuff like a whole grain bagel, beef sausage, an apple, and an energy bar—all for $25.65.
If you’re camping along the trail, keep things light and easy. Jetboil stoves and freeze-dried meals are your best friends here; they’re lightweight, quick to prepare, and provide the energy you need for those challenging miles ahead. The lighter your pack, the happier you’ll be out there; trust me!
Best time to hike the Grand Canyon Rim to Rim
When planning a hike from Rim to Rim in the Grand Canyon, timing is everything! The best time to visit the Grand Canyon is in spring and fall when the North Rim is open, but it’s still not too hot to make it extremely dangerous. Specifically, mid-May or mid-October are the sweet spots.
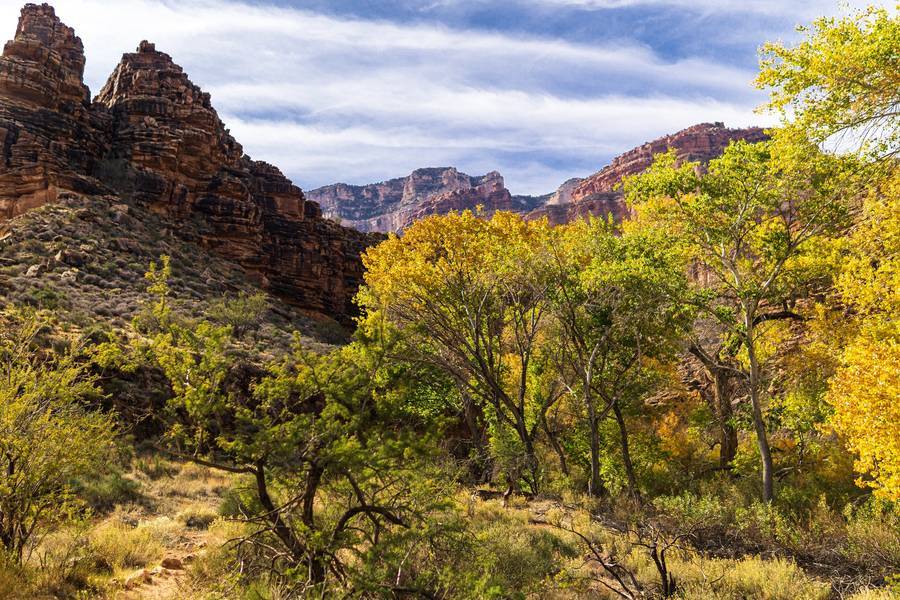
Best time to hike the Grand Canyon Rim to Rim
The best time to hike the Grand Canyon Rim to Rim is between May 15-31 or October 1-15. During these times, the temperatures are a lot more comfortable, and you won’t be dealing with the scorching summer heat that can easily climb above 100°F (38°C) at the canyon floor!
The Grand Canyon in winter is a whole different ball game. The North Rim is closed due to snow and ice, so a standard Rim-to-Rim hike isn’t really an option. But if you’re feeling adventurous (and very prepared), you could try hiking the Grand Canyon from Rim-to-Rim-to-Rim. It’s about five days of serious hiking, covering 44.5 miles. Starting and ending at the South Rim, you’ll be tackling cold conditions, possible snow, and limited water sources! So, I only recommend it to the most experienced hikers.
Grand Canyon Rim-to-Rim hike safety considerations
A guided Rim-to-Rim hike in the Grand Canyon is safe. Lots of people make the journey safely every year by hiring a mountain guide. Still, it’s a challenging trip that requires caution and planning, especially if you prefer to hike this trail on your own. But don’t worry. Follow these safety considerations, and I can assure you that you’ll have enjoyable memories to bring back home.
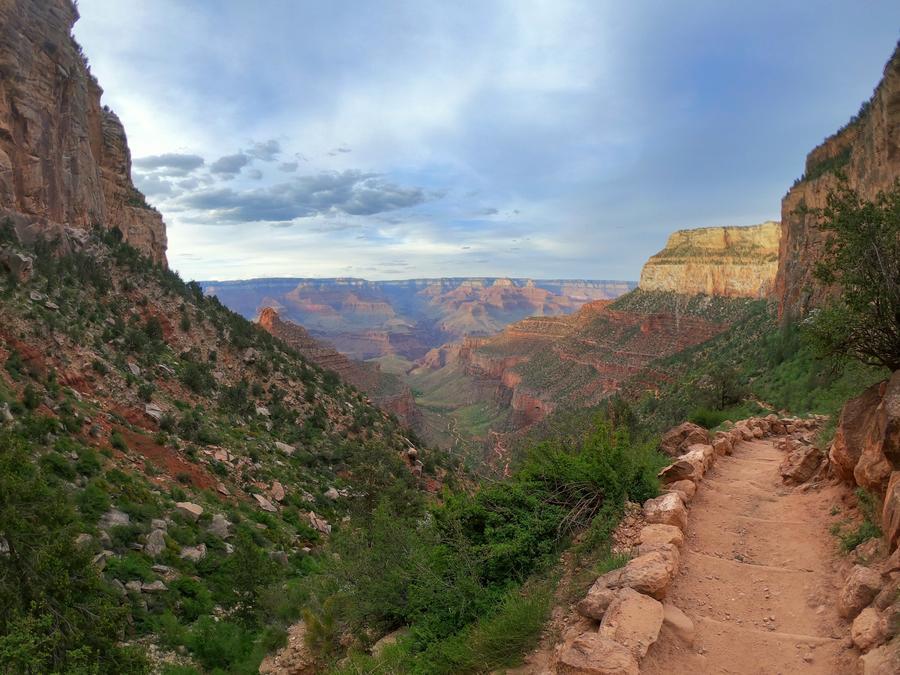
Rim to Rim heat precautions
The number one thing to watch out for in the Grand Canyon is the heat—it’s no joke! The temperature can soar, especially during the summer, so timing your hike is crucial. Try to avoid the hottest parts of the day, generally between 10:00 a.m. and 4:00 p.m.
Rim to Rim heat precautions
Some of the hottest sections you’ll want to tackle in the early morning or late afternoon include:
- North Kaibab between Ribbon Falls and Phantom Ranch
- South Kaibab between Phantom Ranch and Skeleton Point
- Bright Angel between Phantom Ranch and Havasupai Gardens
- Inner Gorge on North Kaibab Trail between Cottonwood Campground and Bright Angel Campground
- The Box, a 4-mile-long narrow passage along Bright Angel Creek. It can get dangerously hot here, sometimes over 120 degrees Fahrenheit! When we reached The Box, it was around noon, and it was scorching—maybe not quite 120 degrees, but definitely intense. Luckily, the creek runs alongside the trail, so we took plenty of breaks and cooled off in the water.
Start early or later in the day to dodge the worst of the heat, and don’t forget your sunblock, hat, and lightweight clothing.
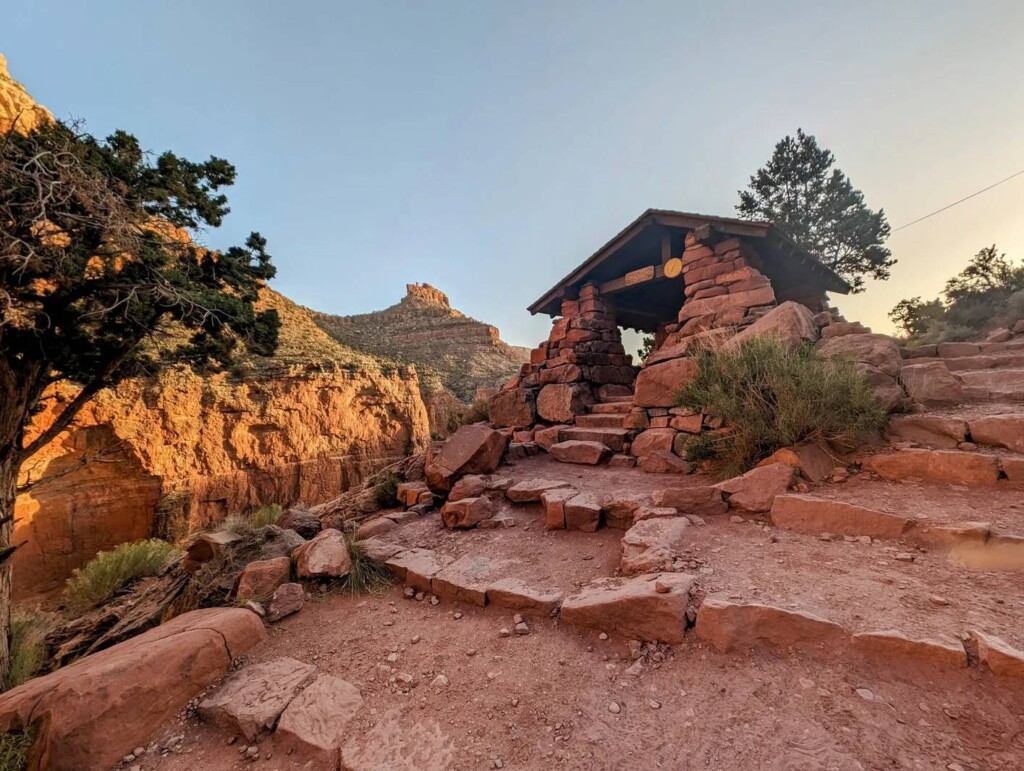
Rim to Rim water sources and water management
Staying hydrated is crucial when you’re tackling a long hike like the Rim to Rim route. The good news is that there are plenty of water sources along the way, but keep in mind that some springs in the Grand Canyon are seasonal. Always double-check that these water sources are flowing, as they can sometimes be turned off. For the latest updates, you can check this website or contact the Backcountry Information Center at (928) 638-7875.
If you’re starting on the South Kaibab Trail, make sure to pack at least 3 liters of water, as the only water source is at the trailhead. You’ll need it to get to Phantom Ranch, where you can refill.
Rim to Rim water sources and water management
On the Bright Angel Trail, you’ll find water at the trailhead, Mile-and-a-Half Resthouse, Three–Mile Resthouse, Havasupai Gardens (about 4.2 miles in), and Bright Angel Campground near the Colorado River.
On the North Kaibab Trail, water is available at Supai Tunnel (1.6 miles from the North Kaibab Trailhead), Roaring Springs (4 miles in), Pump House Ranger Station (near Manzanita Creek, about 4.5 miles in), and Cottonwood Campground (6 miles in).
Remember, you must treat water from natural sources in the Grand Canyon. The easiest method is to use a portable water filter or purification system, which effectively removes contaminants. For added safety, you can use water purification tablets or boil the water for at least one minute to ensure it’s safe to drink.
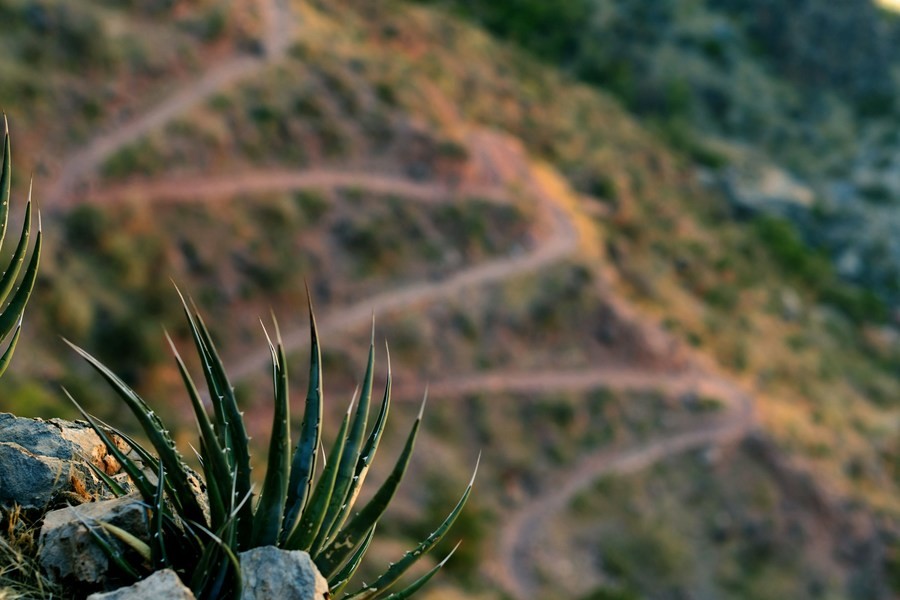
Staying safe near cliffs and edges
Another thing you should remember is to stay vigilant throughout the hike, especially around cliffs and edges. The stunning views can be distracting, and it’s easy to get so absorbed in the scenery that you overlook potential hazards. The sunlight can also be intense and sometimes blinding, so be sure to bring polarized sunglasses that are designed for high-glare situations.
Staying safe near cliffs and edges
Also, if you’re stopping for photos, double-check that you’re not edging too close to the rim. Safety first, always!
Additionally, avoid cutting off switchbacks; going off-trail can dislodge rocks or boulders, putting other hikers at risk.
Sharing the Rim to Rim trail with mule trains
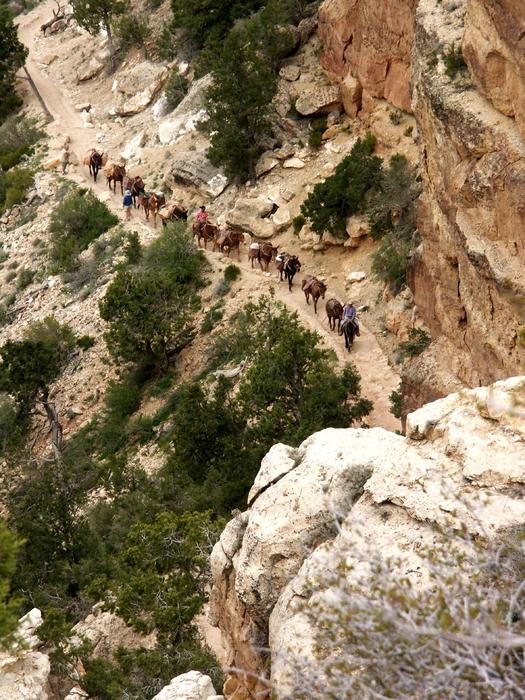
On the Rim to Rim Trail, mule trains are a vital part of the experience, carrying pretty much everything from food and supplies to trash between the South Rim and Phantom Ranch. They also handle the “duffel service,” where you can hire mules to carry your pack.
There are a couple of things to keep in mind when sharing the trail with them. First, the smell can get pretty strong, especially on hot days, so packing some Vicks VapoRub might be a good idea if you’re very sensitive to smells.
Sharing the Rim to Rim trail with mule trains
Second, when you meet a mule train, especially on narrow parts of the trail, there is always a handler leading the way who will guide you on what to do. Typically, you’ll step to the side, close to the wall, and let the mules pass. Don’t stress too much—they’re used to people and tight spaces and won’t kick. Just follow the handler’s lead, and you’ll be good to go!
Grand Canyon wildlife awareness
Another important thing to remember is to respect the Grand Canyon’s wildlife. Rest assured that these animals typically won’t seek you out, but they might defend themselves if they feel threatened. Now, a few tips to keep in mind:
- Encounters with rattlesnakes and scorpions are rare, but still, watch where you step.
- When camping, especially in flip-flops, give your footwear a quick shake before putting them on to avoid any unwelcome surprises.
- Store your gear and food securely in your bag or hang it up to keep curious critters like raccoons and squirrels at bay.
- On the rim, you’ll likely spot ravens, squirrels, deer, and maybe even the occasional mountain goat or condor.
- While coyotes, black bears, and bison are part of the Grand Canyon’s wildlife, you’re unlikely to see them.
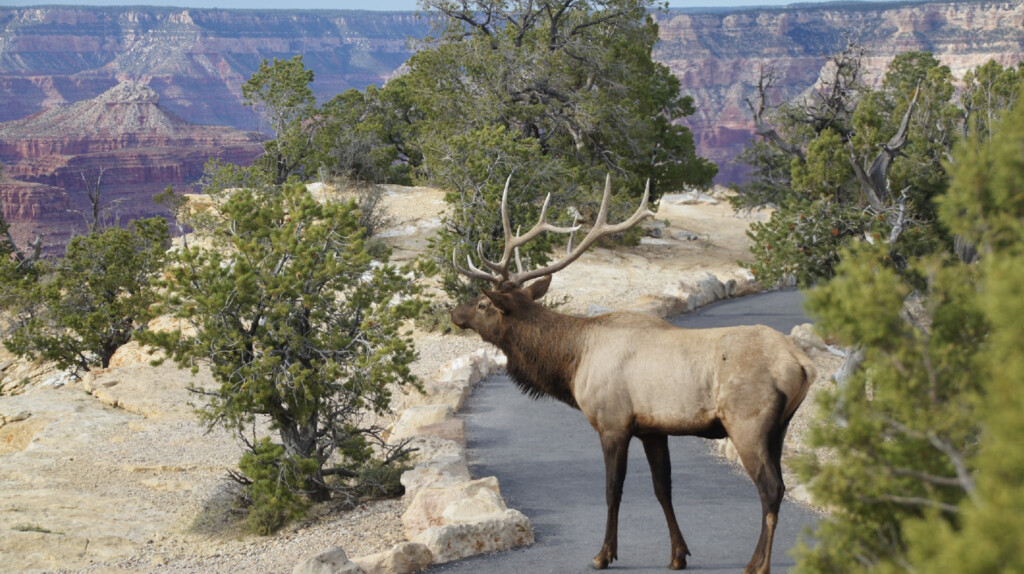
Grand Canyon wildlife awareness
Most wildlife stay away from humans, so just stay alert and enjoy your hike.
Grand Canyon Rim-to-Rim packing list
Here’s a comprehensive Grand Canyon packing list to ensure you’re fully prepared for your multi-day hike from the North Rim to the South Rim. These are the essentials I recommend, but feel free to tweak the list based on your experience, the time of year, and any personal preferences:
- A comfortable hiking backpack
- A collapsible water bottle or a hydration bladder
- Water filter to treat water from natural sources
- Jetboil & freeze-dried meals
- Camping silverware
- Snacks (preferably something lightweight yet filling like nuts, nut butter, or dried fruit)
- Hiking boots
- Appropriate clothing (Pack for both the scorching daytime heat and the potentially chilly nights)
- Sunscreen
- Trekking poles
- Personal hygiene items, including travel toiletry bottles and a travel towel
- Hat
- First aid kit
- Backpacker poncho (Always check if there’s rain in the forecast)
- Garbage bags (Leave no trace!)
- Headlamp or flashlights
- Multi-tool or Swiss Army knife
- Grand Canyon Rim-to-Rim map (online and paper map)
- Garmin InReach
- Emergency whistle
- Camera
- Insect repellent
- Firestarter or lighter
- Hand sanitizer
If you’re planning to camp, you’ll also need to include the following items on your packing list for the Grand Canyon Rim-to-Rim hike:
How to prepare for the Grand Canyon Rim-to-Rim hike
The Rim to Rim hike is definitely a challenge, both mentally and physically. Here are a few tips that really helped me prepare, and I think you’ll find them useful too.
Physical training
Preparing physically for the Grand Canyon Rim-to-Rim hike is all about building strength, endurance, and stamina. Even if you’re a seasoned hiker, the unique challenges of this trail demand specific training to ensure a safe and enjoyable experience.
I recommend starting your training plan several months ahead of your hike to give your body plenty of time to adapt. You’ll want to focus on a mix of cardio, strength training, and endurance hikes to get your body ready for the rigors of the canyon. Here are some great exercises and tips to help you prepare:
- Running stairs is a fantastic way to simulate the elevation change of the Grand Canyon Rim-to-Rim hike and strengthen your legs, particularly your hamstrings, glutes, and calves.
- Hike challenging trails with significant elevation gains, ideally those with at least 1,000 feet.
- Strength training with exercises like squats, lunges, and step-ups helps you build the lower body strength necessary for the canyon’s steep terrain.
- Heat acclimation is also crucial. Try hiking during the hottest part of the day or practicing hot yoga.
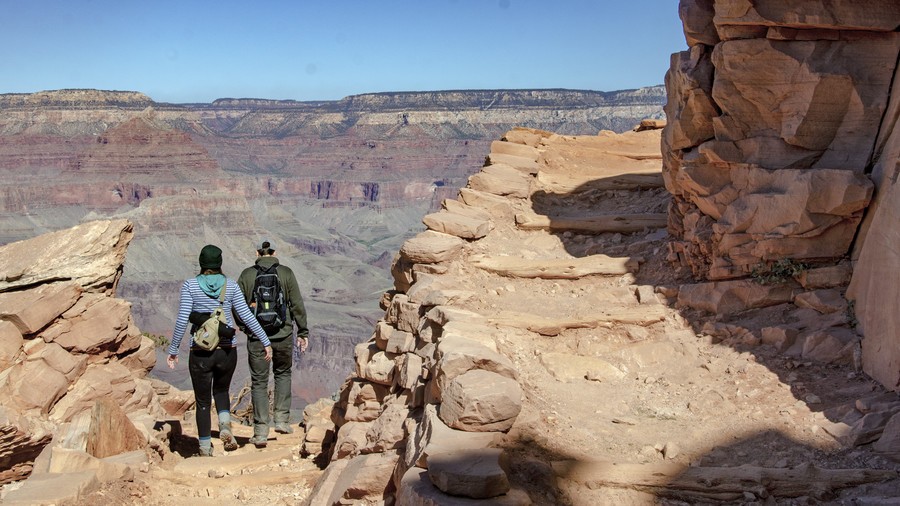
How to prepare for the Grand Canyon Rim-to-Rim hike
And remember, consistency is the key to training for the Rim-to-Rim hike in the Grand Canyon. So, I highly recommend back-to-back training days to simulate the fatigue you might experience during the hike.
Mental toughness
Mental preparation is often the most underestimated part of the hike. Trust me, you’ll need some mental grit to push through those tough moments of fatigue, discomfort, and maybe even a bit of self-doubt. Here are a few tips to consider:
- Firstly, divide the hike into smaller segments so it doesn’t feel too overwhelming.
- Throughout the hike, remind yourself that hikers of all ages and fitness levels complete this hike successfully. You can do it too! A positive attitude can make all the difference when you hit a rough patch.
- Stay present by focusing on your breath, the beauty around you, and the rhythm of your steps. Remember to enjoy the hike—after all, that’s what it’s all about!
- Be prepared for the unexpected. No matter how much you train, challenges may pop up, so stay mentally flexible and ready to adapt.
Additional tips for hiking the Rim to Rim trail
Here are some tips to help you get the most out of your journey!
- Choose the right time for your hike, preferably in spring or fall when temperatures are milder.
- Start your hike early in the morning to take advantage of cooler temperatures.
- Secure permits, lodging, and meals well in advance.
- Book your shuttle in advance.
- For most of the year, wear loose-fitting, light-colored clothing to keep cool and protect your skin.
- Sturdy hiking boots or shoes are a must for navigating rugged terrain.
- Protect yourself from the sun! Sunglasses, a wide-brimmed hat, and plenty of sunscreen are your best friends out on the trail.
- Carry plenty of water and high-energy snacks to keep you fueled and hydrated throughout your hike.
- Make sure you know where all the reliable water sources are along the Rim-to-Rim trail in the Grand Canyon. Ask for the most updated information at the ranger station or visitor center.
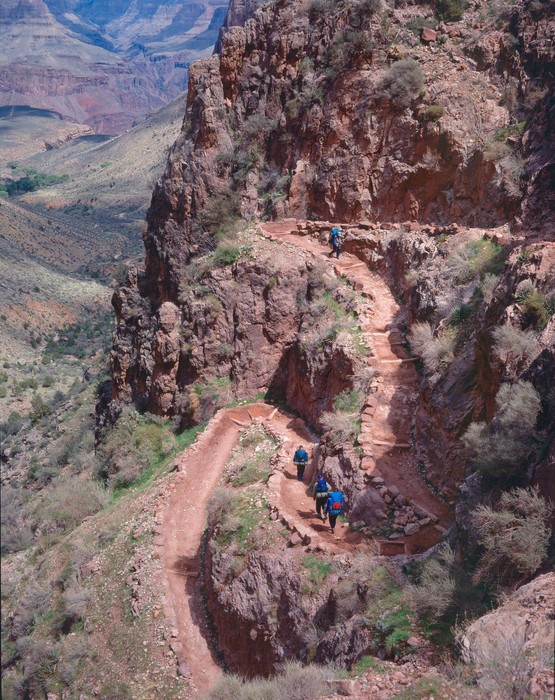
Tips for hiking the Rim to Rim trail
- Make sure you have a GPS device and a downloaded map of the Grand Canyon Rim-to-Rim trail on your phone.
- Pack a basic first aid kit with essentials like band-aids, antiseptic wipes, pain relievers, and any personal medications you may need.
- Remember to give mules the right of way and be courteous to fellow hikers. A little trail etiquette goes a long way!
- Always check the latest weather forecast and trail conditions before setting out.
- The weather can vary greatly throughout the day, so dress in layers that you can easily add or remove.
- For winter hikes, bring traction devices to navigate icy trails.
- Make sure to inform a friend or family member of your hiking plans, including your route and expected return time, just in case of emergencies.
- Pets are not allowed below the canyon rim, so if you have furry friends, consider leaving them at the kennel on the South Rim. Check out our guide for more info on the Grand Canyon’s pet policy.
- Craft a detailed itinerary and take into account Grand Canyon entrance fees and Grand Canyon operating hours.
By following these instructions and reading our guide on tips for visiting the Grand Canyon, you’ll be well-prepared for a safe and enjoyable Rim to Rim hike.
Grand Canyon Rim-to-Rim trail map
Below, I’ve included a map of the Grand Canyon Rim-to-Rim hike so you can easily find all the lodging options, campgrounds, trail routes, and rest houses.
For more help, check out our Grand Canyon maps.
FAQs – Grand Canyon Rim-to-Rim Trail
Now that you’re all set to hike the Grand Canyon Rim to Rim, let’s tackle some of the most frequently asked questions!
And that wraps up our guide on the Grand Canyon Rim-to-Rim hike! I hope you find this information useful. If you have any questions or want to share your own experiences, feel free to leave a comment below. I’d love to hear from you.
Safe travels!
