Photographers seem to be obsessed with ISO invariance, you’ll hear almost every digital photographer talk about this, but the question is: what is ISO invariance?
If you want to understand what ISO invariance is, then you are in the right place. The definition of ISO invariance can be long and technical, but in this article, I’ll explain everything with ISO invariance examples in an easy-to-digest way.
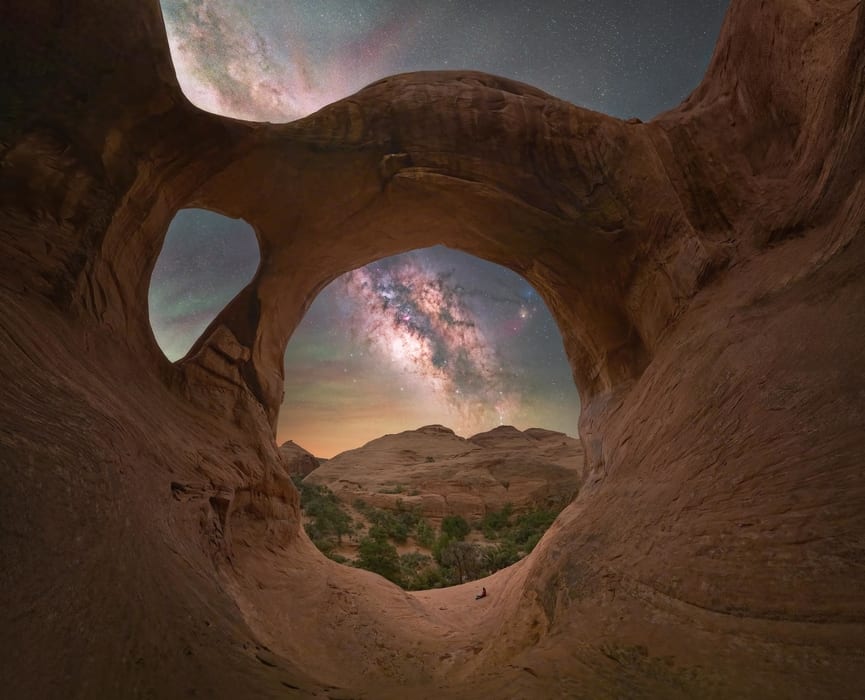
ISO Invariance is especially useful in astrophotography
There are many misconceptions about how our camera sensors work with ISO. In this article, you’ll learn what ISO invariance is, if an ISO-less sensor is better, an ISO invariant camera list, and more. Let’s dive right in!
*Note: Throughout the article, you’ll see the terms ISO invariance and ISO-less, but both mean the same.
What is ISO Invariance?
| Short answer: An ISO invariant sensor will produce the same results in terms of image quality if you underexpose your photograph and then raise the exposure in post-processing as if you had exposed it correctly (in camera) in the first place. |
An ISO invariant camera will allow you to increase exposure in post-processing without compromising quality
Are you still wrapping your head around it? Don’t worry, I’ll explain everything in more detail with plenty of ISO-less examples to help you understand this concept. But before we continue, to fully understand this article, you need to know how ISO works in digital photography by reading our dedicated article.
And before going ahead, let’s clarify one big misconception about ISO:
-
- Analog ISO and digital ISO don’t work in the same way. In analog photography, ISO is the sensitivity of the film you use at a given moment. This definition has permeated digital photography; however, ISO in the digital world is not the sensitivity of the camera’s sensor to light, it’s an artificial signal amplification that brightens the image.
Why is ISO invariance important?
There are some light situations where ISO invariance is very important.
Imagine you are photographing the Milky Way in a place with external lights. If you expose your photograph correctly, the lights will most likely be clipped overexposing areas in the final photograph. To fix this, you need to underexpose the image by lowering the ISO in your ISO-invariant camera.
When you get back home and edit your image, you just need to raise the shadows to get the right exposure in your image. This simple action will preserve the information and detail in the lights, while having the same digital noise that you’d have by shooting at a higher ISO.
Another good example is Northern Lights photography, where you shoot in a dark environment where there are very strong lights (the Aurora Borealis) that can be overexposed in your images.
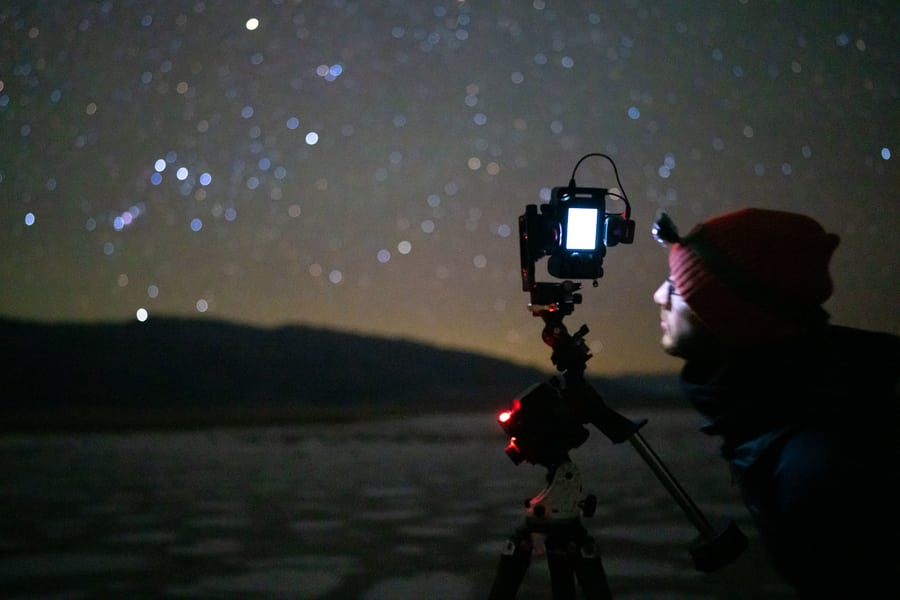
With an ISO invariant camera, you’ll benefit from slightly underexposing the image
Basically, ISO invariance becomes important when there is a high dynamic range, which is a scene with very bright highlights and very dark shadows. In these kinds of scenarios, it’s more important to preserve detail in the highlights by underexposing and then pushing up the shadows in post-processing.
If you have an ISO-less sensor, raising the exposure in post-processing will reveal the same amount of noise as exposing correctly in-camera using a higher ISO. This will have the added benefit that you’ll preserve detail in the highlights, which will allow more flexibility to edit instead of having overexposed highlights.
ISO-less sensors will allow you more flexibility during the editing process
Note: you’ll often read about “photon noise” and “read noise” when researching ISO invariance. Photon noise is the noise produced by photons (light particles) in the scene. It has nothing to do with your camera. Read noise is the noise produced by the camera’s own electronics in different stages of the image capture. An ISO invariant camera has near-zero read noise values.
Camera Models with ISO Invariance
Finding an ISO invariance camera list isn’t an easy task. Manufacturers don’t list ISO invariance as a specification in their cameras, therefore, if you want to know if your camera is ISO invariant, you have to run some tests.
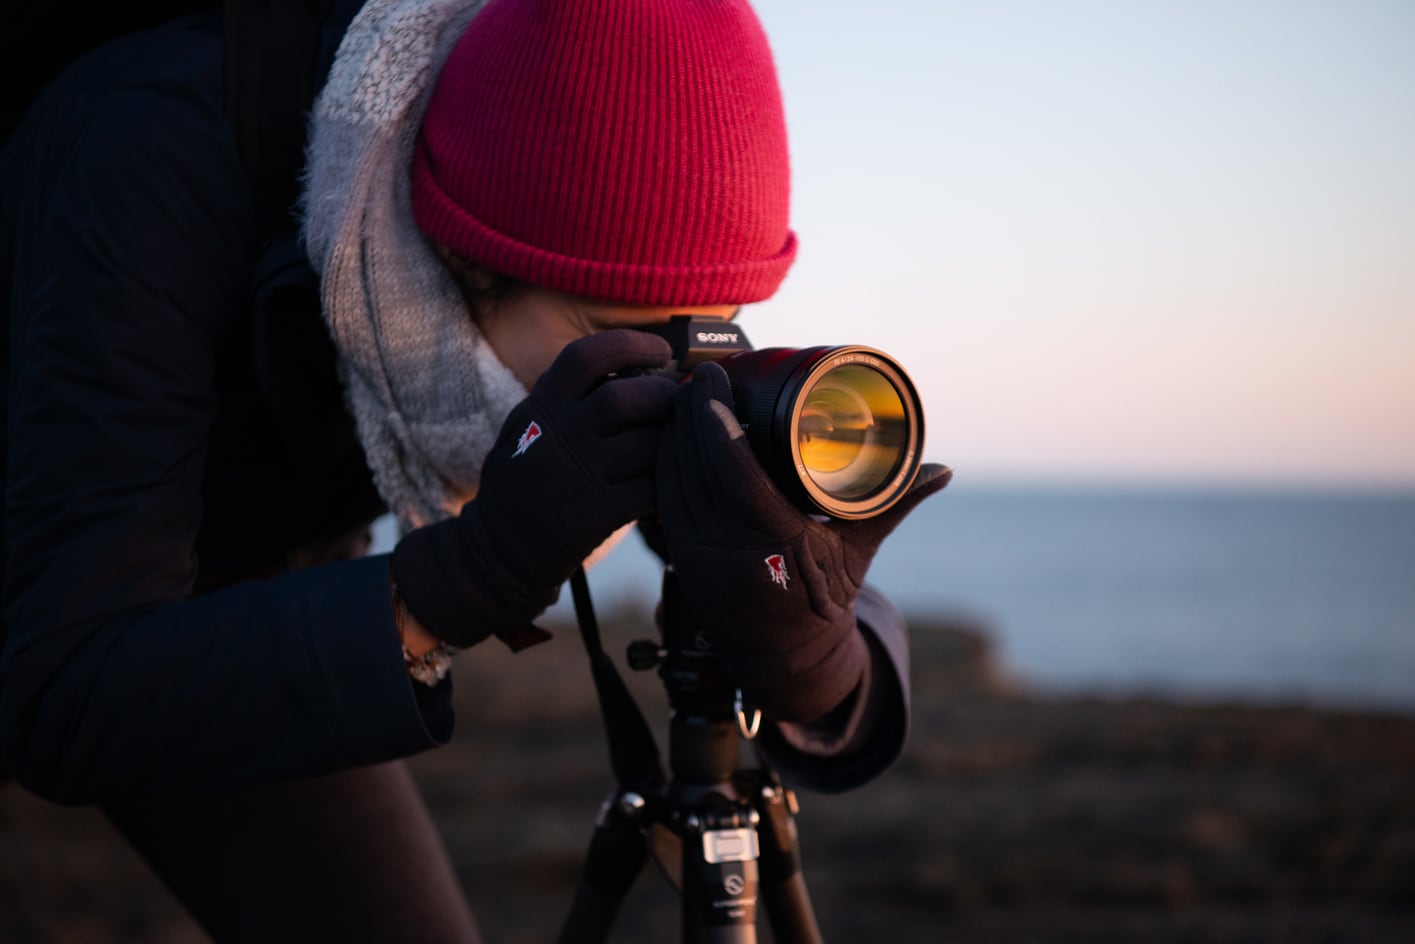
It’s very easy to test if your camera is ISO invariant
However, we’ve tested different cameras and researched other models, and here you can find a complete ISO invariance camera list:
This is also an open ISO invariant camera list, there are many more models, some of which are being released now or that haven’t been tested yet. If you’ve tested a model that is not on the list, please, let us know!
Also, some cameras are ISO invariant only in certain ISO ranges. If you want to compare ISO values in different camera models, use the Image Comparison Tool from DPReview. To find more detailed charts you can check Photon to Photos PDR Shadow chart.
Also, don’t miss out on our article about the best cameras to photograph the Milky Way if you are looking for a great camera to photograph in low-light.
Is your camera ISO Invariant?
Testing if your camera is ISO invariant is a fairly easy task. You’ll only need three tools: your camera, a tripod, and an editing software like Lightroom.
Test if your camera is ISO invariant with these simple steps:
-
- Capture the control shot: mount your camera on the tripod. Set your camera to manual mode (M). Photograph a subject at ISO 6400, and expose it correctly. This will be your control photo.
Tip: photograph a simple and still subject. If you have a gray card or a color chart, you can use that, otherwise, you can use any surface with multiple details, in my case I used the magnets on my fridge.

Properly exposed control shot: 1/50 sec. f/8, ISO 6400.
-
- Photograph the test shots: now, bring the ISO down to your camera’s base ISO, which is generally ISO 100, and photograph the same subject. The shot will be underexposed, that’s how it should be. Take more test shots, at 1/3 stop increments until you reach ISO 5000.
Note: most modern mirrorless cameras use a dual-gain ISO architecture. For the purpose of this article, this means they are ISO invariant in two different ranges. Visit Photon to Photos website to check the different ISO ranges in your particular model.
-
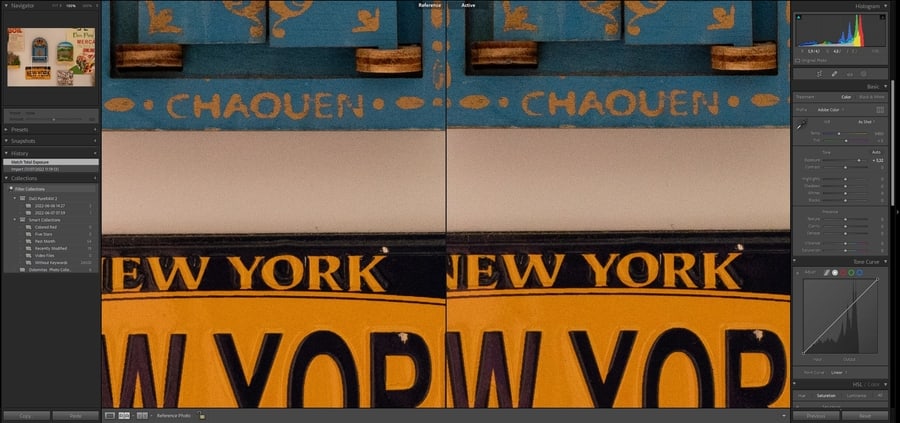
- Match the exposure in Lightroom: on this final step, import all the pictures you took into the photo editing software of your choice. By using the exposure slider, adjust the exposure on all of the test shots to match the control shot. In Lightroom, you can easily match all the exposures by selecting all the images in the Develop module and going to Settings –> Match Total Exposures.
-
Compare the images after you’ve matched the exposure


The control shot (left) taken at ISO 6400 and the test shot taken at ISO 640 +3.3EV. There is no perceptible difference in noise.
Best ISO Invariance Tips
To make the most out of your ISO invariant camera, there are a few things to consider.
The definition of ISO invariance is something every photographer, either professional or beginner should know about. If you are reading about ISO invariance in this article, then you’ll most likely appreciate a few recommendations.
-
- Shoot in RAW: none of the information in this article applies to JPEG images. This is probably the best photography tip for beginners; If you are serious about photography and want to get the most out of your camera, you should be shooting in RAW.
-
- Disable in-camera noise reduction features: most cameras have a long exposure noise reduction and a high ISO noise reduction feature, with only the first affecting the RAW files. However, it’s a good practice to disable these even if your camera is not ISO-less. This is one of the first things I change when I first set up my cameras.
-
- Use native ISO values: for the best image quality and ISO invariance results, don’t use any of the extended ISO values in your camera. These are simulated ISO values and don’t offer any true benefit when using them. These extended values are usually any ISO value under 100 and over 51200 in most cameras. You can check the exact values on your camera’s spec sheet.
-
An ISO invariant camera will be really useful in high dynamic range (HDR) scenes
-
- Don’t be afraid to underexpose: most modern cameras have an outstanding shadow recovery, but not so good highlight recovery. When given the choice, it’s always better to underexpose about 1 to 2 stops to retain detail in the highlights and then brighten up the shadows in post.
-
- Don’t push the exposure slider too far: even if your camera is ISO invariant, your RAW photo editor won’t do a great job when you push the exposure slider too far, and you might start seeing strange color artifacts. I generally don’t like to brighten my photos more than 4-5 exposure stops in post-processing.
-
- Use some noise reduction software: Using ISO invariance techniques, you’ll protect the highlights, but you won’t get rid of the digital noise. To eliminate the noise and enhance your images, I recommend using some of the best noise reduction software in the market.
-
- Know your camera: run tests, review ISO charts, and practice. To get the best image quality out of your camera, it’s important to master all the photography basics and be familiar with your sensor.
ISO Invariance Examples
ISO invariance is best understood with some visual examples. I’ve taken a few shots in different scenarios to demonstrate how an ISO-less camera should behave.
ISO Invariance in Astrophotography
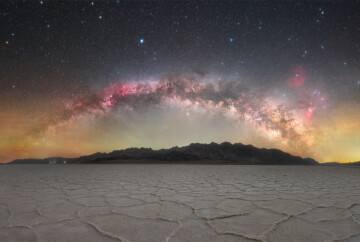
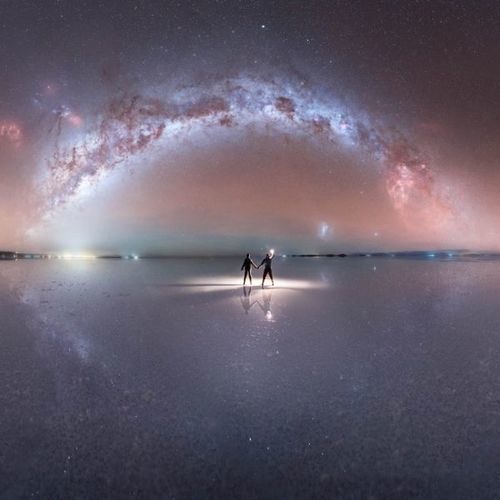
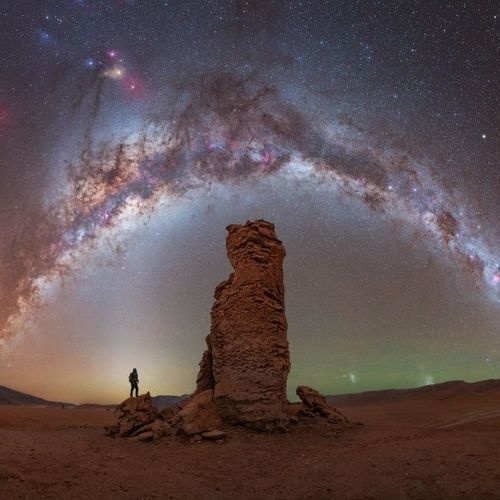
Astrophotography is one of the genres that benefit the most from ISO invariance, being able to reduce the ISO to protect the highlights and then bring the shadows up in postprocessing without compromising quality.
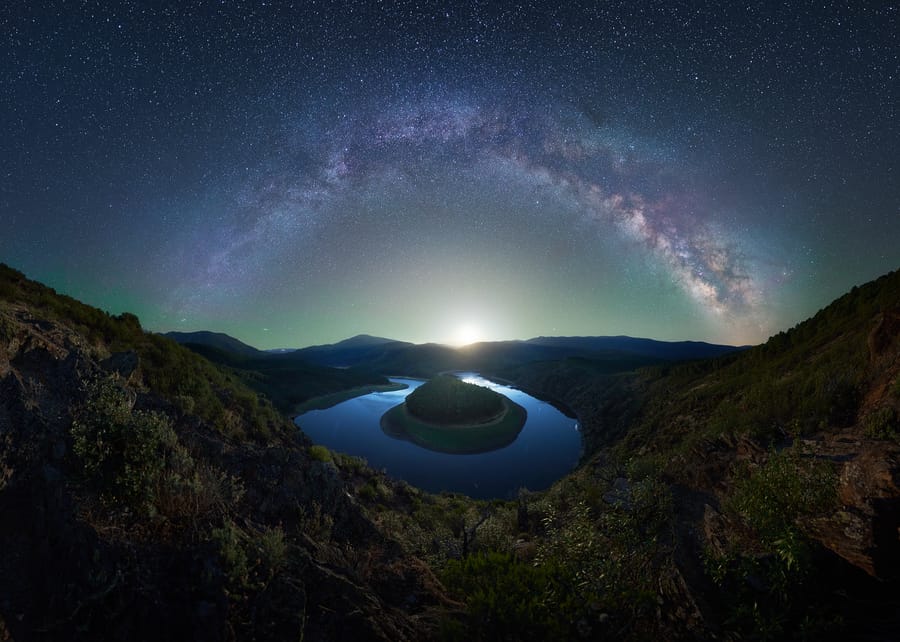
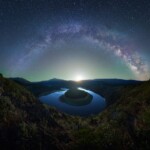
Milky Way arch and the moon rising through the middle of the arch. I underexposed to preserve the detail in the highlights
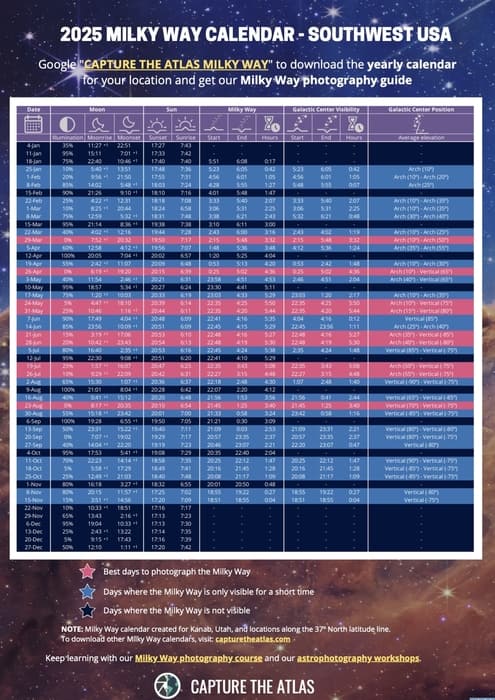
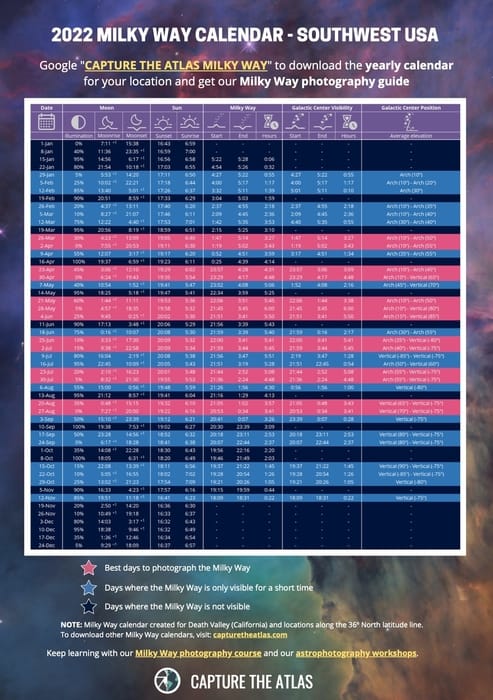
If you are into astrophotography, I recommend downloading our Milky Way calendars where you can plan, at a glance, the best time to see the Milky Way and other astronomical objects.
GET THE CALENDAR WITH THE BEST DATES TO PHOTOGRAPH THE MILKY WAY IN 2026
You'll also receive our PDF guide to photographing the Milky Way!
ISO invariance in Northern Lights Photography
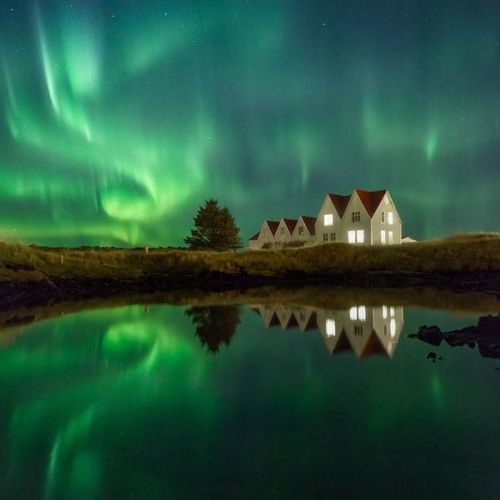
Photographing the Northern lights is another common extreme light situation where you can find darkness with very bright lights. To recover the highlights in all those cases when the aurora shines strongly in the sky, you can lower your ISO if your camera is ISO invariant and get impressive Northern Lights images!
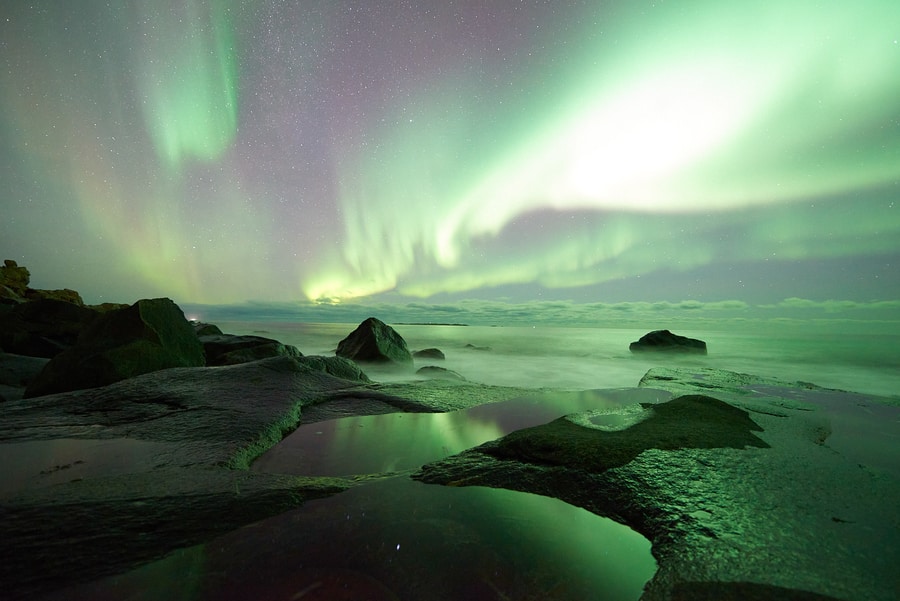
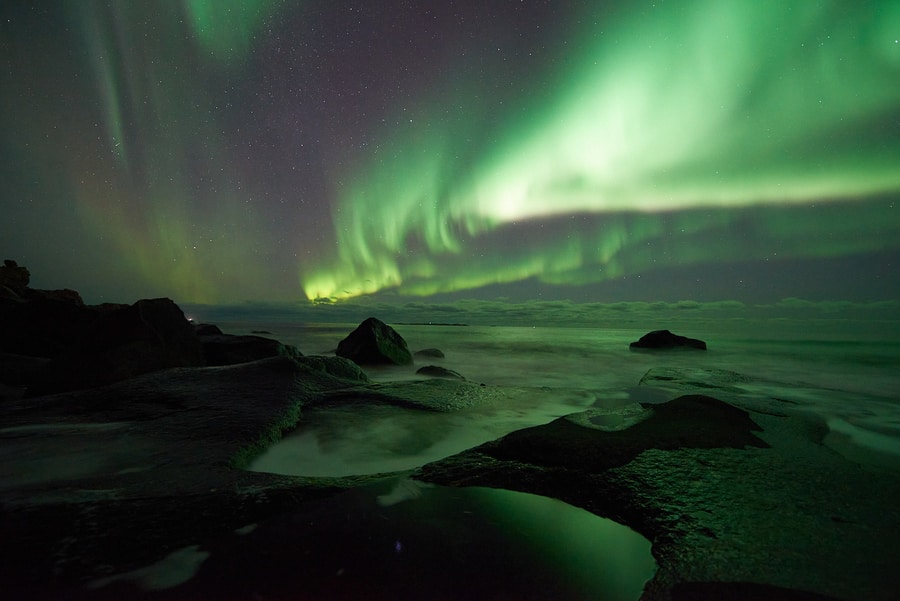
Lower your ISO when photographing Northern lights to protect the highlights.
ISO invariance in Star Trails photography
By shooting at a lower ISO, you can keep the color in the stars when you photograph star-trails while having the same amount of digital noise in your image. This is the only way to capture a star-trail with the natural color of the stars.
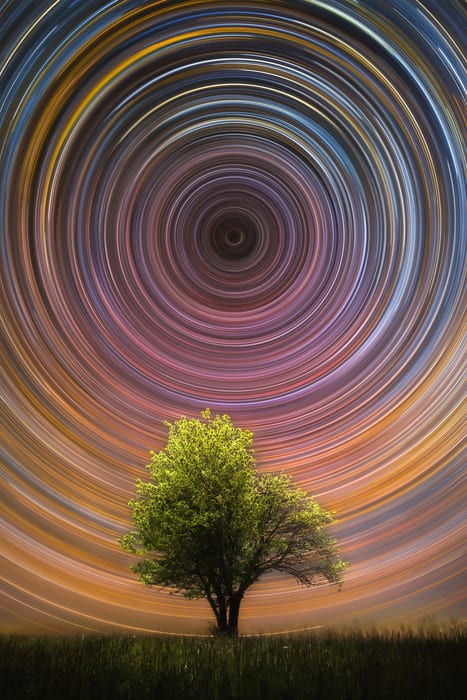
Making use of an ISO invariant camera will help capture plenty of color in star trails – Image by Uros Fink
ISO Invariance in Landscape Photography
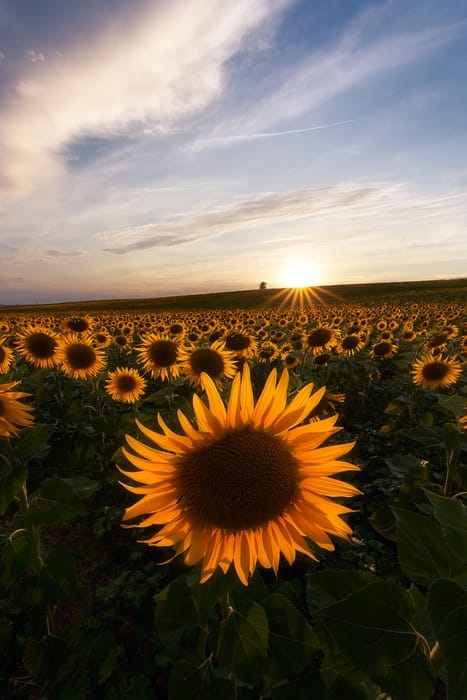
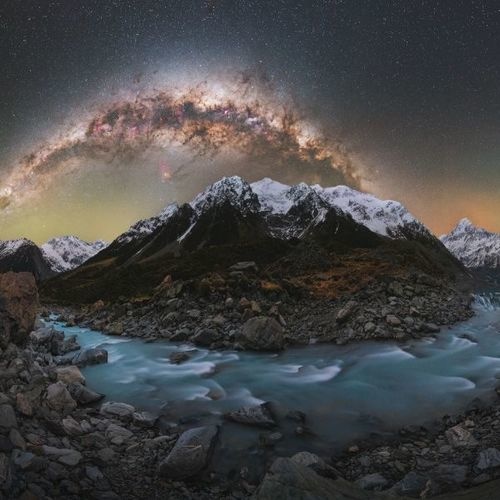
If you are shooting high dynamic range scenes in landscape photography, it helps if your camera is ISO-less. Being able to slightly underexpose to protect the highlights will come in handy when editing your image in Lightroom or any other editing software.
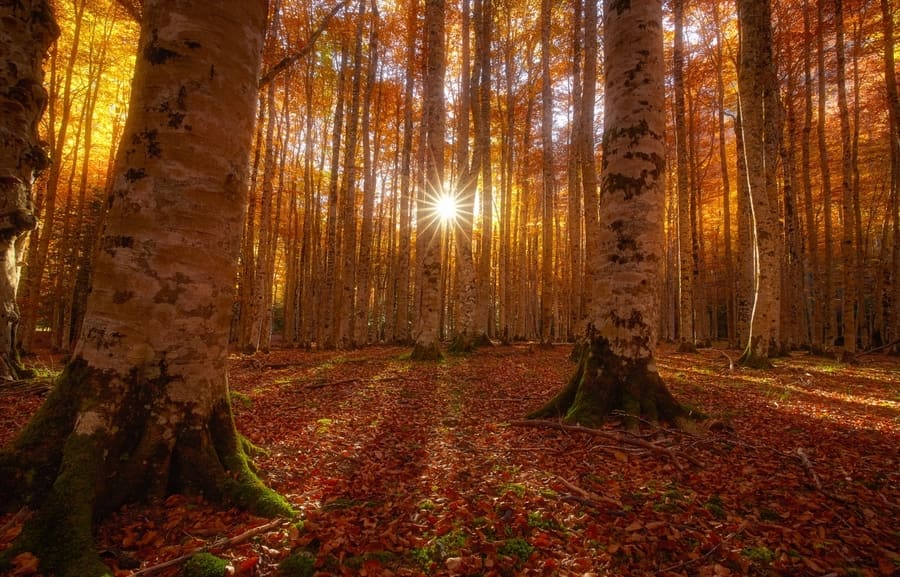
In this example, I underexposed to keep the details in the highlights and then recover shadows without any loss of quality
ISO Invariance FAQ
This topic raises a lot of questions and finding a clear definition of ISO invariance is not always easy. In this section, I’ve gathered the most searched questions when it comes to ISO invariance:
Conclusion
| To summarize, this is the key definition of ISO invariance: an ISO invariant (ISO-less) camera will produce the same results if you underexpose a scene and then brighten it up in a photo editor as if you exposed it correctly in camera. The main benefit is that you’ll protect the highlights from clipping and you’ll have more detail and data in the highlights of your image. |
ISO invariance definitions can get very technical because it’s a complex subject. In this ISO invariance article, I’ve tried to break down the explanation into easy-to-understand sections with simple language to make it easier to digest. I hope after reading this article you can understand the difference between a standard and an ISO invariant sensor.
If you want to learn more about this topic, I highly recommend checking our dedicated guide to ISO in digital photography.
Please, feel free to post a comment below with any question you might have related to ISO invariance and I’ll be more than happy to help!
Happy captures!








Hi,
Olympus/OM Systems cameras are not on your list. Is that because you haven’t tested them or is it because they are not ISO invariant?
Thanks.
Hello Mark,
We haven’t tested them yet. But we’ll update the list as soon as we can verify they are ISO invariant.
Thanks for your comment!
Is Sony a7rV iso invariant?
Hi Victor,
From the data in Photons to Photos and a little research, it certainly looks like the A7RV is ISO invariant.
I did my own test on my EOS R before googling and finding this article. My analysis says it’s definitely not iso invariant. I took a photo exposed as the camera suggested at 1600 iso, then one at 800 and one at 100 without changing settings. In a pretty dark room with one bright light. When exposure matching them in Lightroom the shadows in the 100 iso looks terrible compared to the others. And on the histogram it’s very obvious that the light is clipped in the 1600, but not in the others (the spike with no info above it).
These are raw photos. Could I have done something wrong, or should EOS R not be on your list?
Hi Daniel! Probably the EOS R isn’t ISO-invarient at all. Probably the best option according to your test would be 800 iso. But it has a bit more limitation on ISO than other cameras.
Thank you for the great explanation! I have a question, please.
When shooting a nightscape with stacking, is it recommended not to push a single image in post, but only after stacking the images? But then the stacked image is no longer a RAW file. Does that mean I lose the benefits of my camera’s invariance?
In other words, when stacking images, how far is it recommended to push the exposure in post before stacking?
Thank you!
David,
Exactly, it’s always better to do the stacking firstly and save it as a TIFF or DNG file to keep all the information from the RAW file so you won’t lose any benefit of the ISO invariance.
Hope it helps,
Dan
Only applies to raw shooters and underexposed image have major issues regardless so no underexposing is “crap in crap out”
Exactly Barry. As I mentioned in the article, this only applies to RAW files, if you are shooting in JPEG it won’t matter if your sensor is ISO invariant or not. ISO invariance is just meant to give more flexibility in post, it won’t fix major mistakes with the settings or deliver less noise in the image.
Thanks for your comment!
Hi Frank! In modern-day digital cameras, exposing to the right is no longer mandatory since dynamic range and shadow recovery are very good. Shadow recovery is better than highlight recovery, so when faced with the choice, it is a good practice to try and preserve highlights, then lift the shadows in post-processing.
How low of an ISO is necessary to get those colors in star trails? Is this also true of getting the correct colors in Milky Way photography?
I suggest you take a look at our star trail photography article for a more detailed tutorial on how to capture star trails and get bright colors: https://capturetheatlas.com/star-trails-photography-guide/
Is the Nikon D800e iso variant?
We haven’t had the chance to test that camera, however, if you own it, you can test it out yourself following the steps in the article.
Sigma SD 9, SD14, SD1 and SD1Merrill too. Thanks for the article.
Thanks for the addition!
Shadow Improvement is more photographically relevant since it’s normalized.
Many people use PhotonsToPhotos to check for ISO Invariance by consulting the Shadow Improvement of Photographic Dynamic Range versus ISO Setting chart.
ISO Invariant ranges are evident where the curve is mostly level.
Dual conversion gain, when present, is also obvious.
Thanks a lot for the comment Bill, I’ll update the information in the article.
I also use the Input-referred Read Noise versus ISO Setting chart. Would you recommend the PDR Shadow chart over this one?