Have you ever seen any of those dreamy landscape images and wondered how to do long exposure landscape photography?
Using long exposure in landscape photography is one of the best ways to unleash your creativity and shoot awe-inspiring landscape images!
Long exposure photography is fascinating, since you can capture things in a different way from how your eyes see. However, long exposure in landscape photography is even more captivating since you’ll be able to photograph the movement of elements such as water, clouds, or even the night sky.
As a long exposure landscape photographer, you’ll have to think outside the box, and always keep your eyes wide open, observing the movement of the elements in the scene.
In this long exposure landscape photography tutorial, I’m going to break down all the essentials for being successful at taking long expo landscape shots, including the basic settings, the best process to follow, and tips to avoid common mistakes.
Ready to master long exposure landscape photography?
1. Choose your subject: the first step in long exposure landscape photography
The first step you need to take when you do long exposure landscape photography is to choose your subject.
If no elements are moving in your scene, there’s no point in taking a long exposure landscape shot, so make sure that you think about why you’re shooting that subject in the first place.
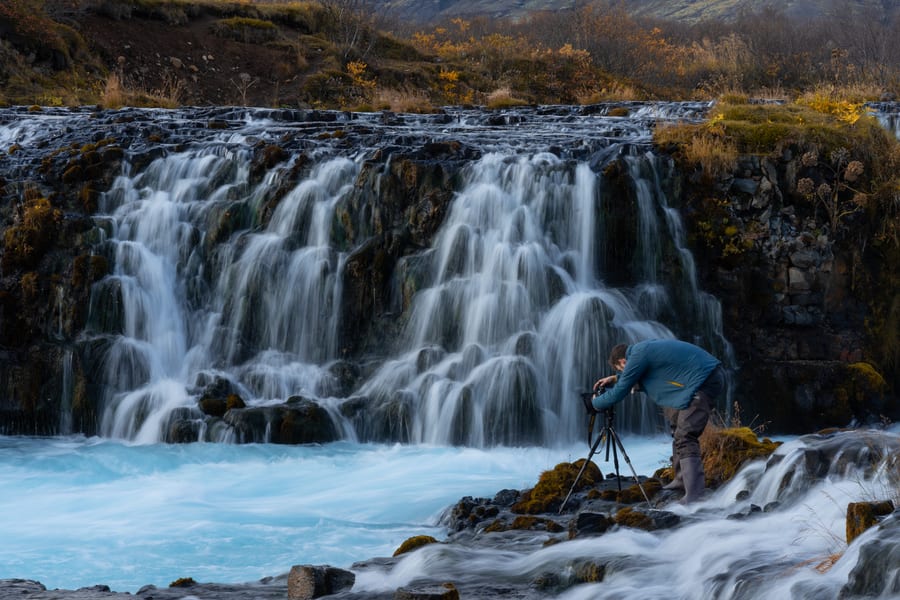
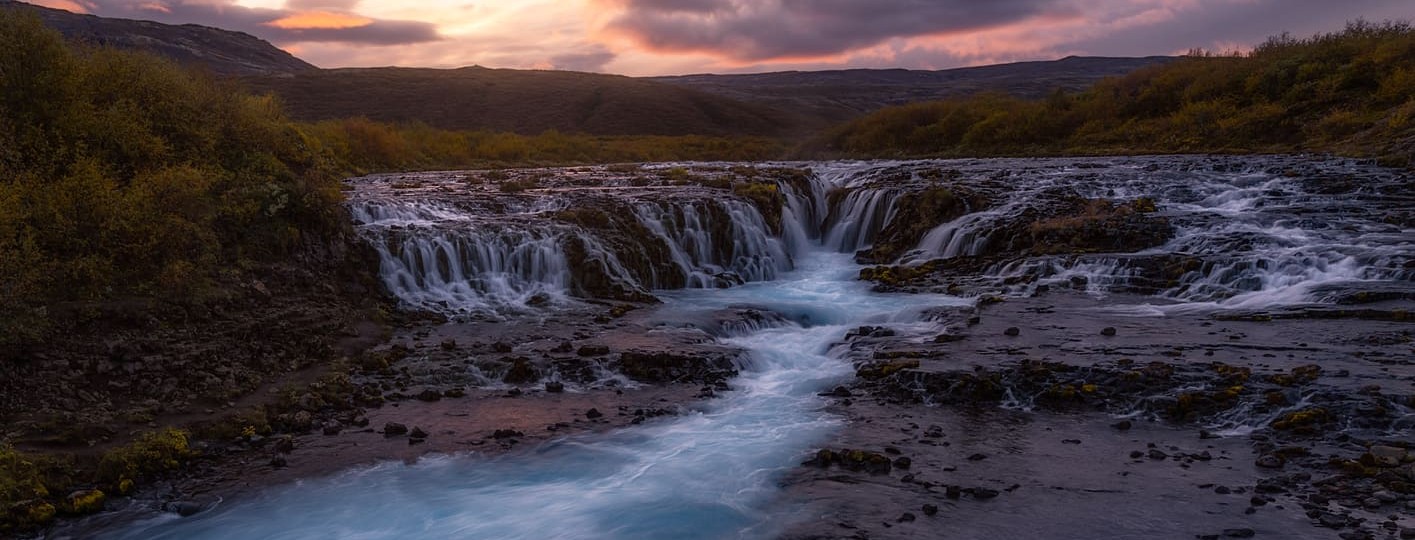
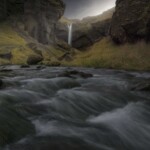
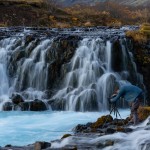
1. Choose your subject – Bruarfoss waterfall, Iceland. 1/6 sec. f/22, ISO 50
Water running down a creek or a waterfall, clouds moving at a fast pace, Northern Lights dancing across the sky… the moving elements in a scene can be infinite, and sometimes you can even shoot different elements moving at the same time. Long exposure landscape photography will allow you to capture the flow in a creative and original way.
Also, don’t forget about color, since some moving elements might benefit from being shot as black & white long exposure landscape photography.
2. Decide the best time of day: the key to deciding the settings and gear
There is a huge difference between doing daytime long exposure photography and long exposure photography at night, especially in terms of gear, planning, and settings.
In both types of photography, you’ll need some basics like a digital camera, a sturdy tripod, a remote shutter, and other equipment we covered in our general guide to long exposure photography. Also, depending on the time of day, not only the gear but also the settings will change:
- Long exposure daytime landscape photography: If you’re shooting in harsh broad daylight, make sure you have ND lens filters to block the light, and choose the right settings as if you were taking a normal landscape image.
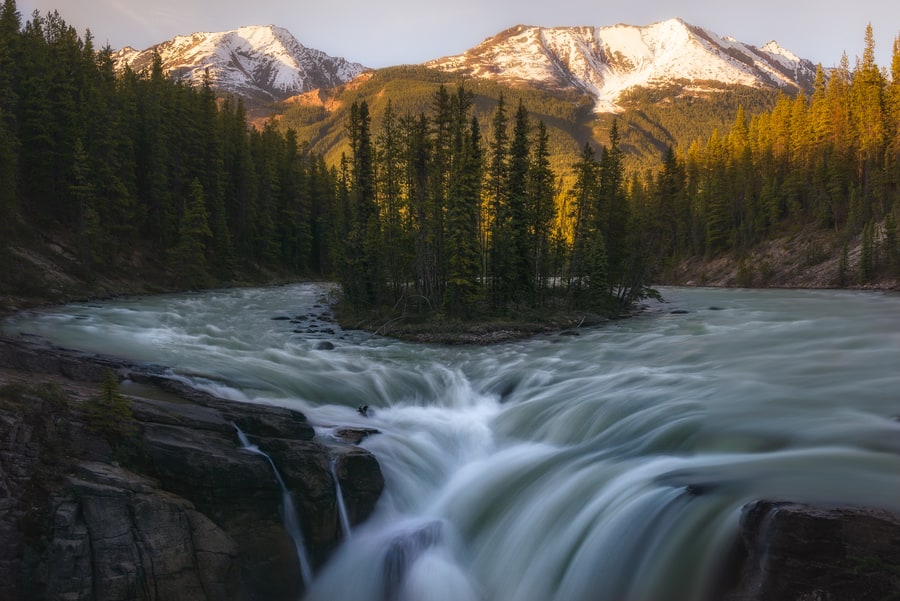
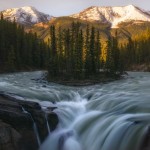
2. Decide the best time of the day – Sunwapta Falls, Canada. 0.4 sec, f/9, ISO 100 + 6 stops ND filter
- Long exposure night landscape photography: In this case, you should plan the type of session, like shooting a starry sky, star trails, or photographing Northern Lights. Make sure you’re using fast lenses for night photography and the right night photography settings as we explain in our guide to Milky Way photography.
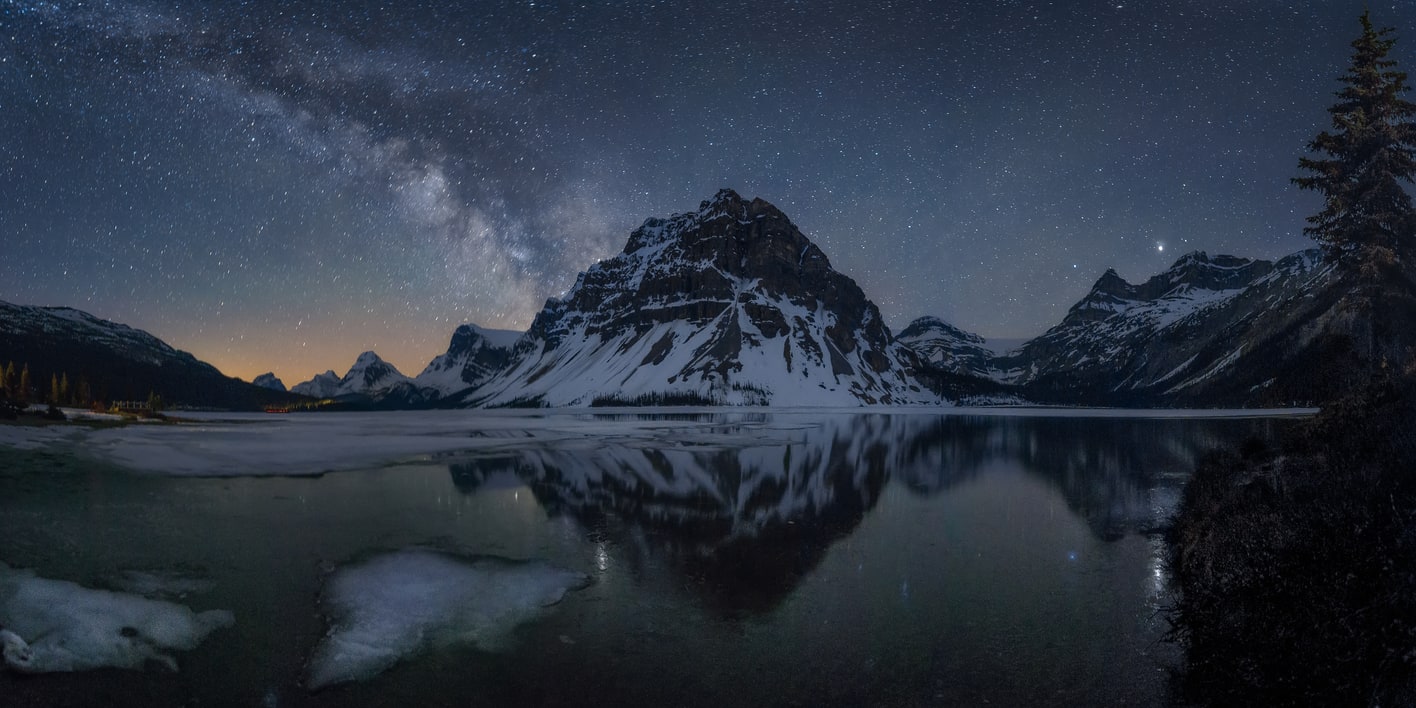
Plan your long exposure landscape images at night
3. Compose your image: The secret of the best long exposure landscape photographers
All the best long exposure landscape photographers have trained their eye not only to “see” which scenes are good for a long expo landscape picture but also to include the moving elements in an attractive visual composition.
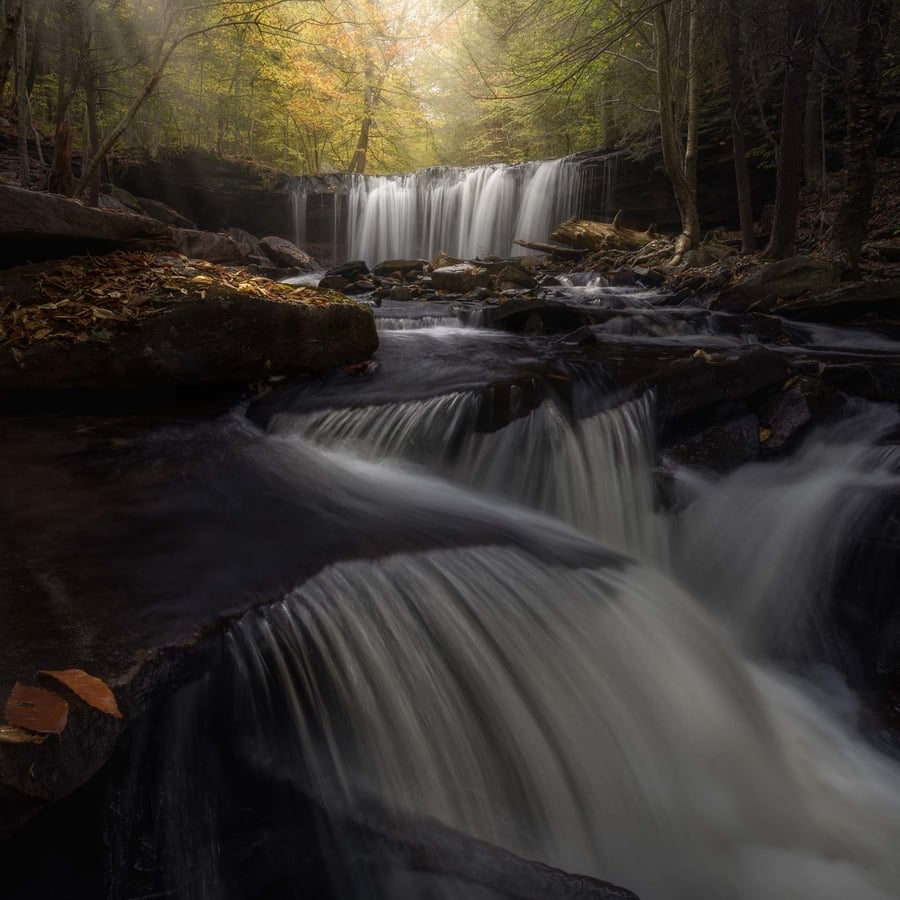
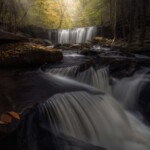
3. Compose your image – Rickett falls, Pennsylvania. 1/3 sec. f/9, ISO 100
Sometimes, the elements will dictate how you should compose your long exposure landscape images. Think about clouds moving in a particular direction, or Northern Lights crossing the sky. This will determine if you should use a vertical/horizontal frame, and also which rule of composition best suits your goals.
You can learn more about how to compose your photos here.
4. Mount your camera on your tripod to avoid vibrations
One of the main steps for doing long exposure for landscape photography, regardless of the subject and time of the day, is to use a sturdy tripod to prevent vibrations.
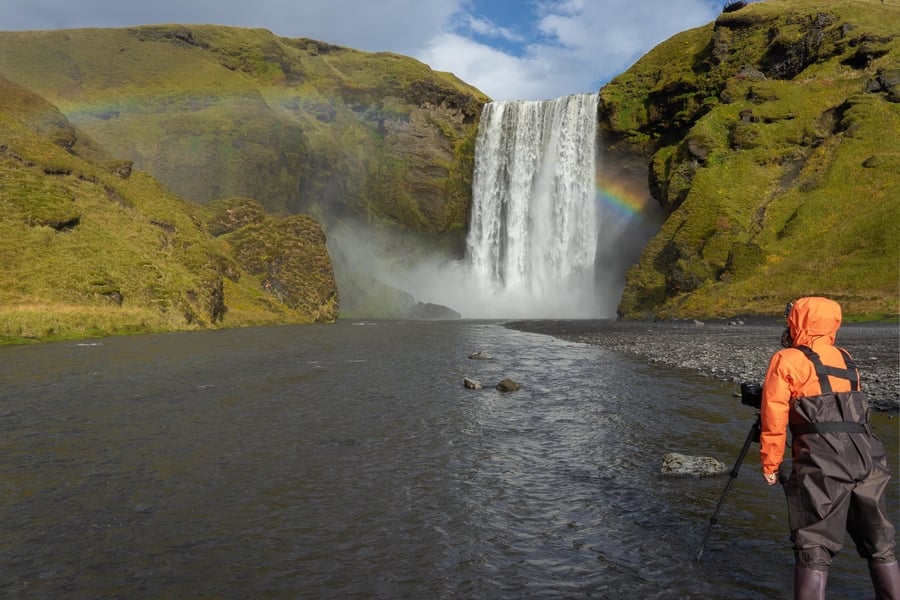
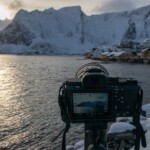
4. Mount your camera on your tripod
Camera shakiness is the number one enemy to control if you want to take tack-sharp photos. When you’re shooting long exposure landscape photographs of several seconds and even minutes, the chances of having a blurry picture increase exponentially. The wind and the waves will be the main forces to control, and the best way to do this is with a stable and reliable tripod.
A good tip for long exposure landscape photography is to add weight to the center column of your tripod so you can gain even more stability. If you still get a soft image, check how to make a blurry picture clear here.
5. Adjust the basic long exposure landscape photography settings
You’ve planned your long exposure landscape session, observed the elements, chosen your composition, and made sure your camera is stable on the tripod. Now comes the fun part: playing with the settings for your long exposure landscape shots!
Choosing the best settings for long exposure landscape photography is not easy; it requires much more tweaking and experience than shooting standard images, but practice makes perfect, so as you progress, you’ll see how you pick the right settings intuitively.
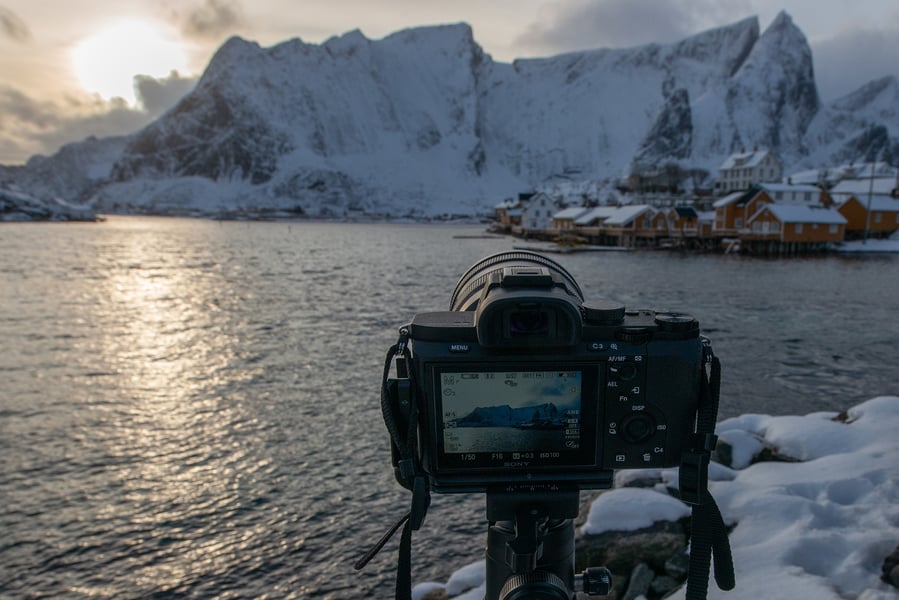
5. Adjust the basic settings
A good starting point is to shoot in Raw, deactivate the camera/lens stabilization to avoid vibrations (your camera should be stable on the tripod to increase the sharpness), turn down the screen brightness if you’re shooting at night, and set the White Balance to manual if you’re shooting Bracketing or Panoramas.
6. Make sure your focus is correct
One of the main mistakes when learning how to do long exposure landscape photography is to mess up the focus of your image.
Most of the time, the nice light and elements are fleeting in landscape photography, so if you’re taking a picture of several minutes and your focus is wrong, you’ll have to repeat the process and probably miss the opportunity of capturing that sunset sky or Milky Way.
If you’re shooting during the day, make sure your focus is correct before placing any lens filter in front of your camera or you might struggle to focus.
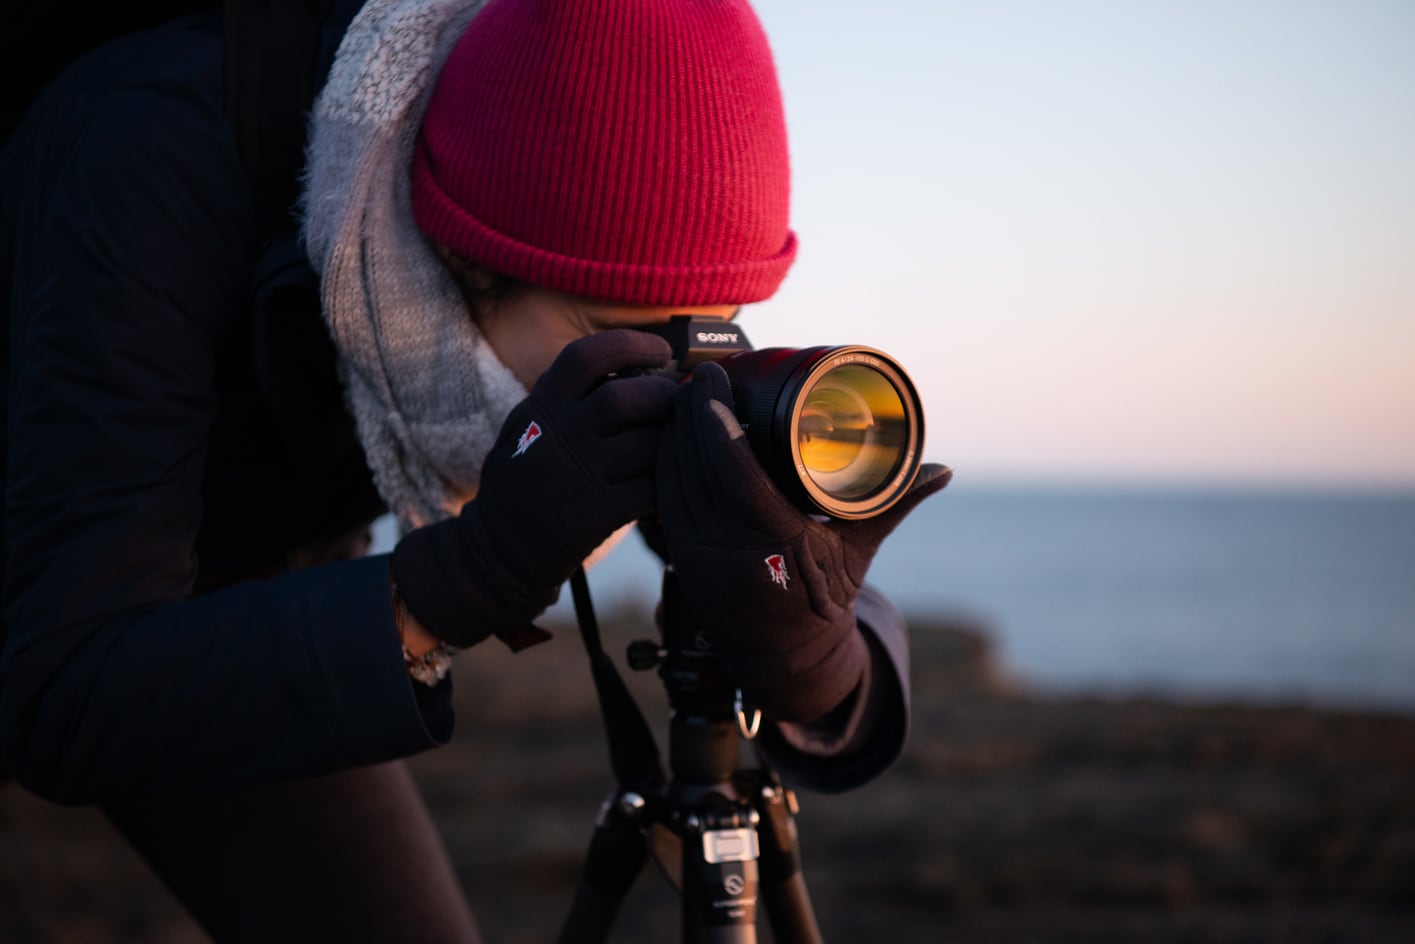
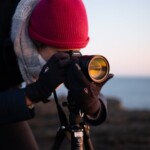
6. Make sure you use the right focus
Same if you’re doing long exposure landscape photography at night; in that case, I recommend setting up the manual focus before the start of the session, since focusing at night can be more challenging.
In any case, once your focus is correct, make sure you switch your focus from Auto to Manual mode, and don’t change it for the rest of the shooting unless you use another lens or focal length.
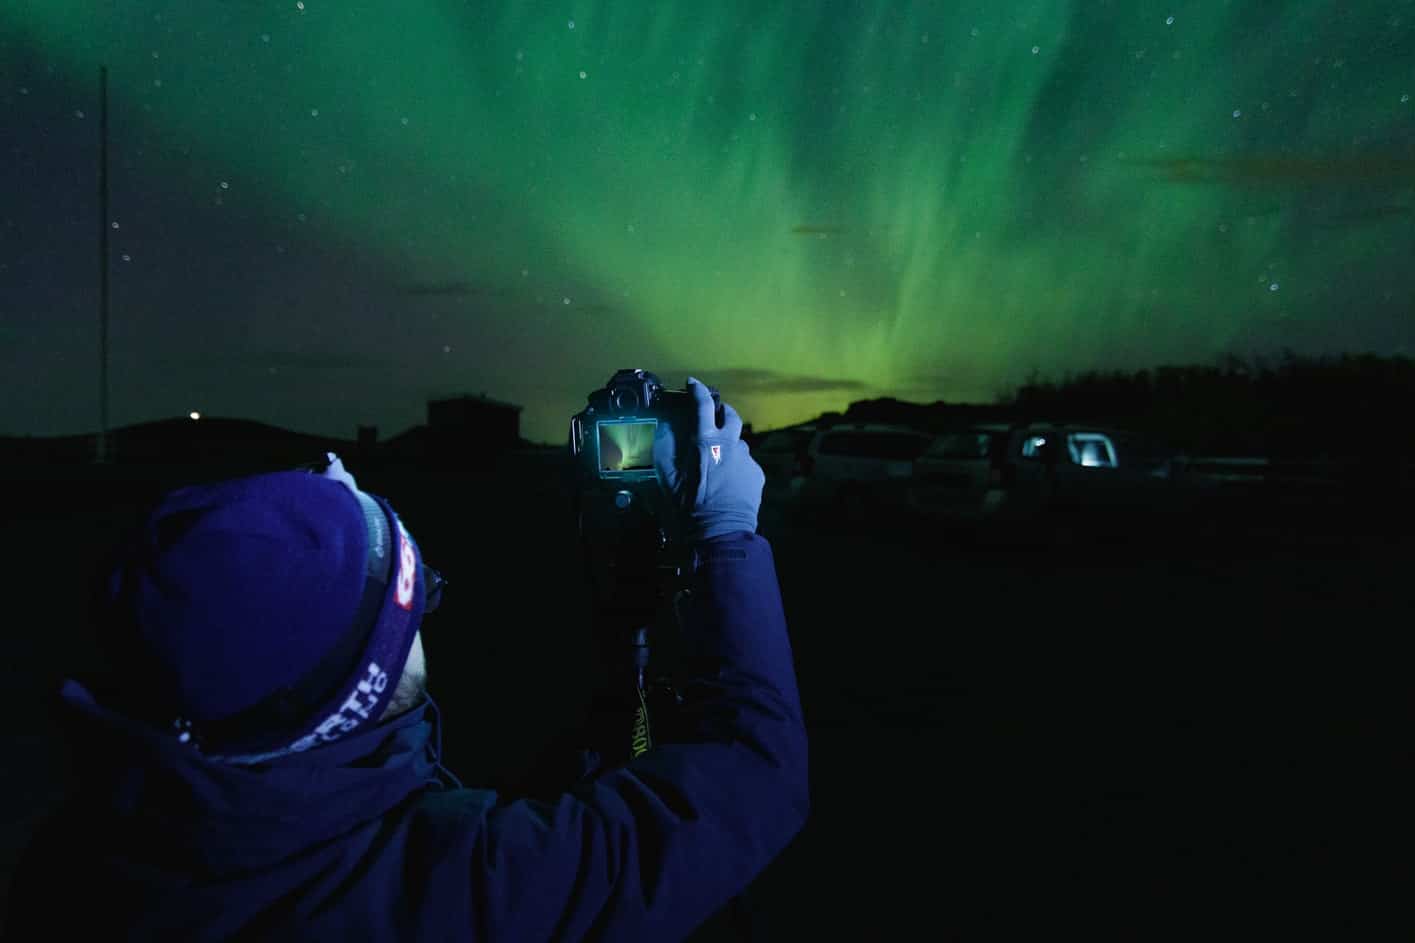
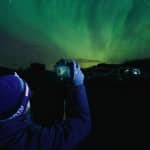
Focus manually to take long exposure landscape images at night
7. Set the filters for your daytime long exposure landscape images
As we mentioned before, ND camera lens filters for long exposure landscape photography in daylight are a must.
A 6-stop ND filter works fine for soft light like during sunrise and sunset, but if you’re shooting long exposure landscapes in broad daylight, you should take a 10-stop ND filter with you.
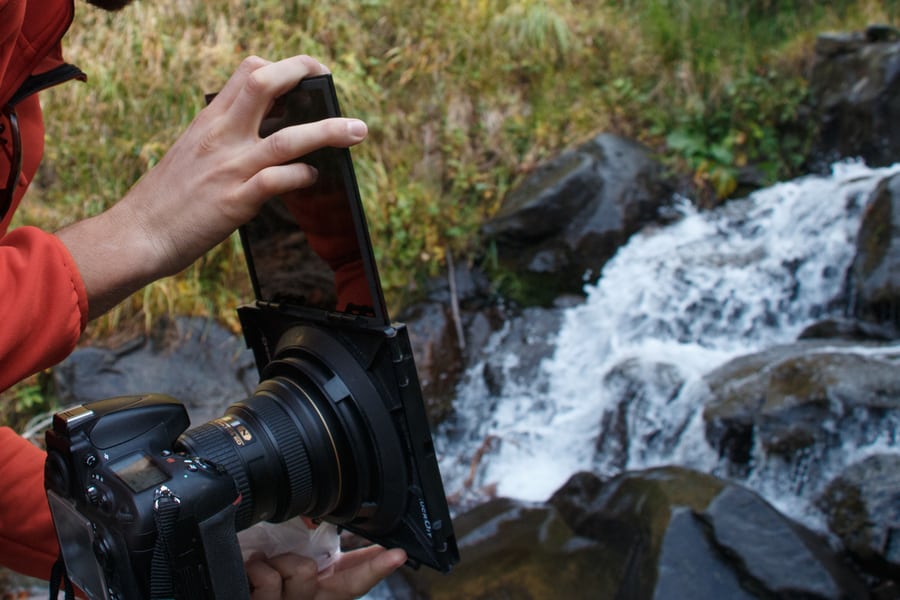
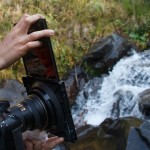
7. Adjust the filter for your daytime long exposure landscape images – 10-stop Lucroit filter attached to the Nikkor 14-24 mm
Make sure you’re using quality filters if you don’t want to see awful color casts in your landscape long expo images. If you buy cheap glass, you’ll risk lesser quality in your final images.
You can read more information on this topic and my favorite filters brand in our guide to camera lens filters. Also, you may find interesting our guide to daytime long exposure photography.
8. Set the aperture according to your needs
The first long exposure landscape camera setting to adjust is the aperture.
In landscape photography, it’s common to use a narrow aperture to capture a greater depth of field and have the largest possible area of your image in focus.
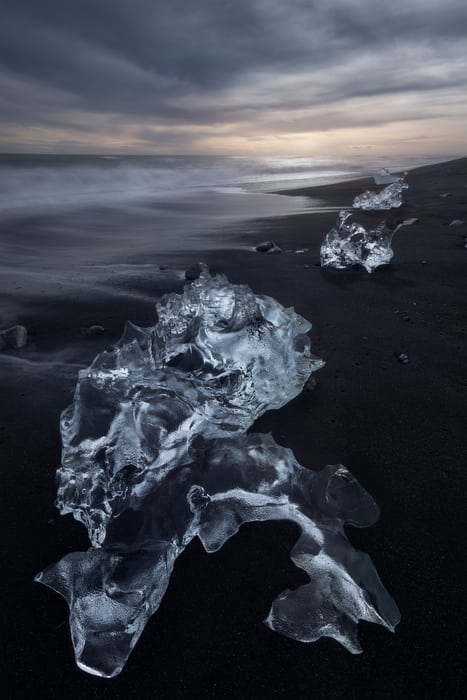
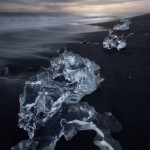
8. Set the aperture. Use a narrow aperture to maximize the depth of field – Diamond beach, Iceland. f/16, 0.8 sec, ISO 100
However, if you’re shooting long exposure landscapes in low-light conditions or at night, your aperture should be the widest so you can capture as much light as possible.
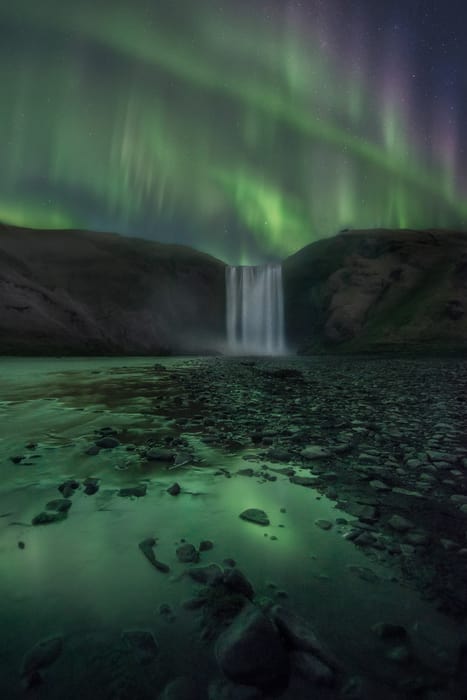
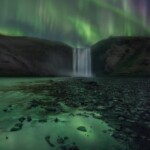
Use a wide aperture to capture more light at night – Skogafoss, Iceland. f/2.8, 2.5 sec, ISO 5000
You can learn more about aperture settings in our guide to photography aperture.
9. Raise the ISO in your long exposure night landscape photos
Besides keeping your aperture wide open, you should also raise your ISO when doing long exposure landscape night photography.
How much should you raise your ISO? There is no rule of thumb for this, but it ultimately depends on your subject, the light conditions, and your camera gear, as we explain in our guide to master ISO in photography.
For example, for shooting star trails, you can compensate for the lack of light by increasing the exposure time, but in some cases like the Milky Way or, even more extreme, the Northern Lights, you’ll need to shoot shorter long exposures. You can check our guide on long exposure night photography.
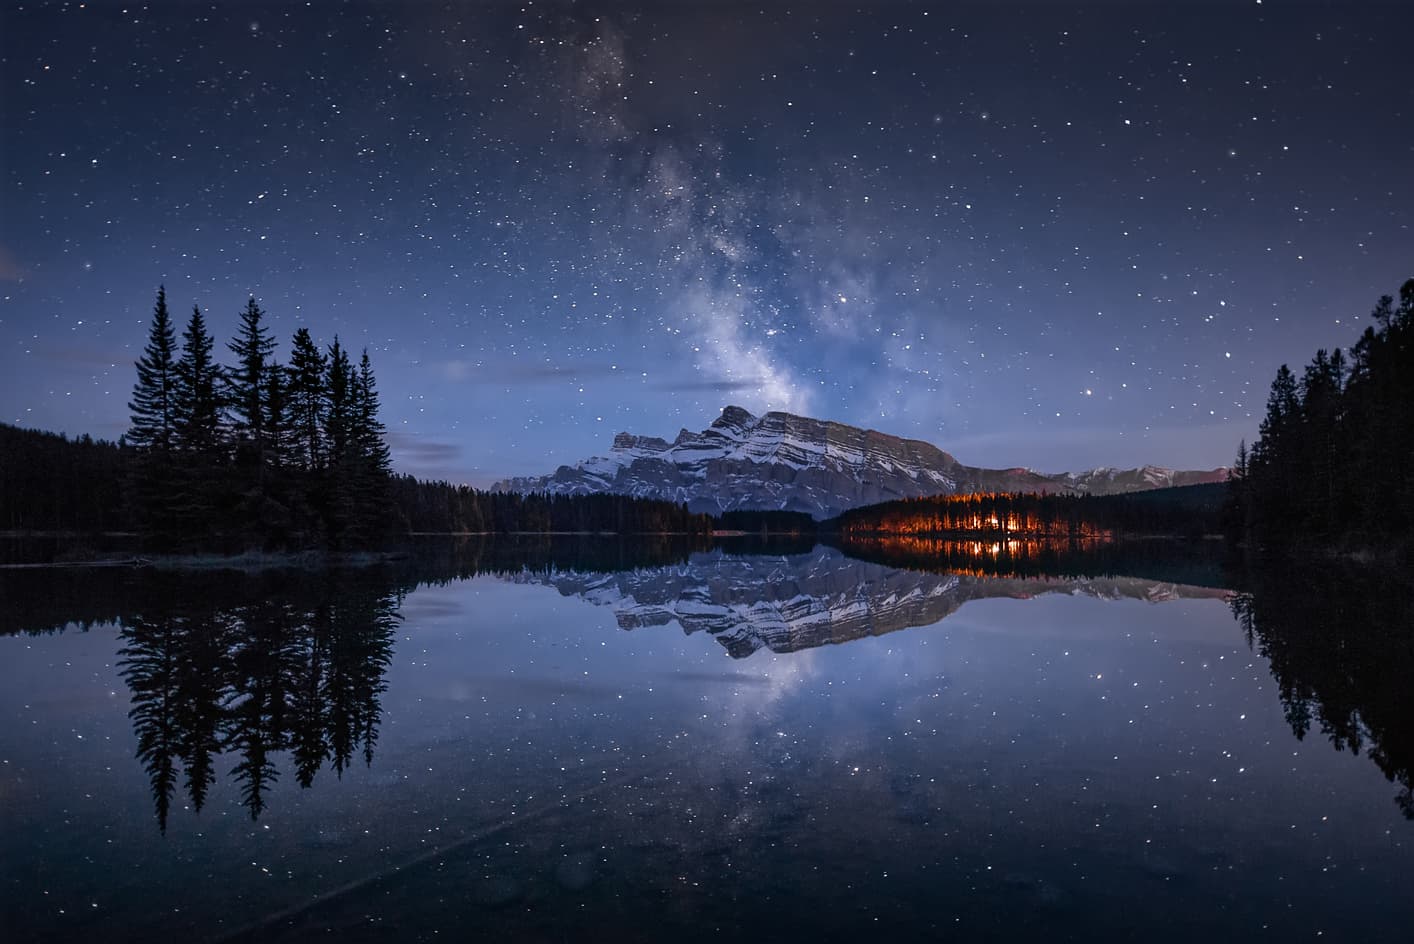
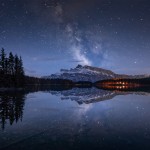
9. Raise the ISO in your night long exposure landscape photos – Two Jack Lake, Canada. ISO 2500, 30 sec, f/2.8
Just as a reference, if you’re shooting long expo landscapes at night with an APS-C camera, you shouldn’t raise your ISO above 3200. If you’re shooting with a full-frame, there is more room to increase the ISO up to 6400. Camera sensor size is fundamental in terms of ISO-limits.
My recommendation is to be familiar with your equipment, so you know the limits.
In any case, if there’s some digital noise, you can always eliminate it with any of the best noise-reduction software in the market. Currently, I use Topaz DeNoise AI.
10. Calculate the shutter speed for your long exposure landscape photograph
Shutter speed is the most essential long exposure landscape setting. However, the best shutter speed value depends entirely on your subject and goals, as with any shot in long exposure photography.
For example, if you’re shooting seascapes, using a shutter speed beyond 10-15 seconds will smooth the water and create a more minimalistic scene (also known as “silk effect”).
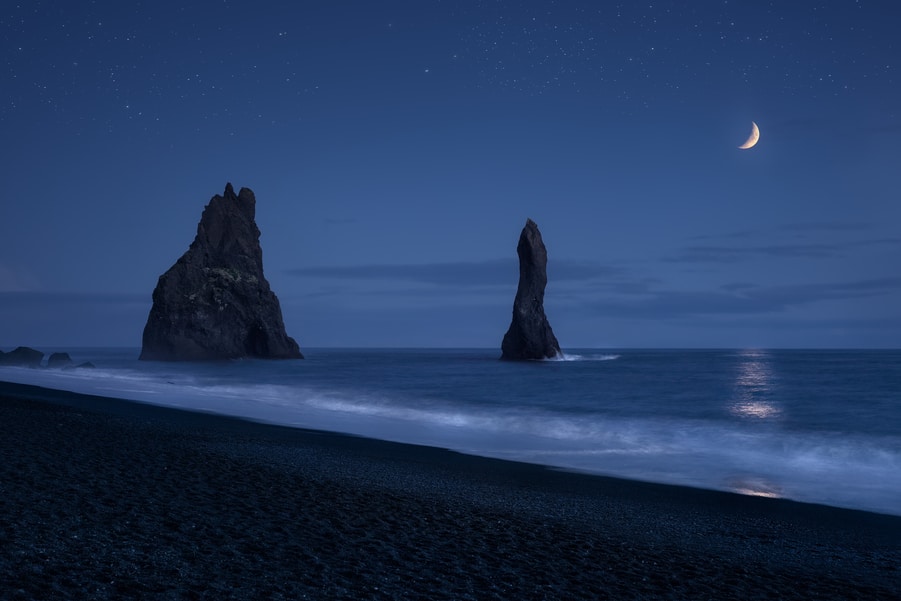
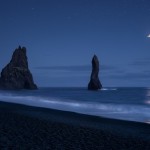
10. Calculate the shutter speed. Use longer exposures to capture a “silky effect” – Reynisfjara beach, Iceland. 30 sec, f/9, ISO 1000
On the other hand, if you’re using a shutter speed between 0.5 and 2 seconds, you’ll manage to capture the texture of the water and a more realistic feeling.
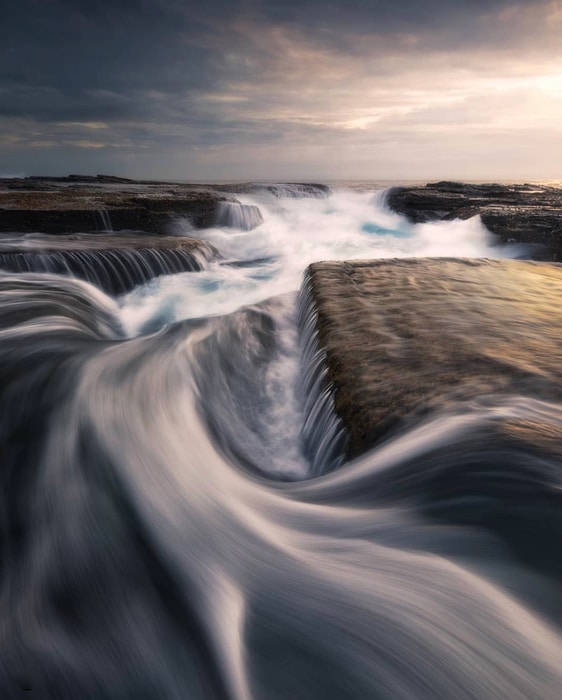
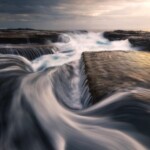
Use shorter exposures to capture the movement of water – North Narrabeen, Australia. 1/3 sec. f/11, ISO 100
The key to finding the sweet spot is trial and error. Each landscape has different light, so you should always take some test shots before getting the right shutter speed according to your taste.
For ultra-long landscape exposure images, you can use a landscape long exposure app calculator. This can be especially helpful if you’re shooting with ND filters.
Below, you can see a chart with the most common shutter speed values for long exposure landscape photography. Feel free to use it just as a reference.
TYPE OF LANDSCAPE LONG EXPOSURE | SHUTTER SPEED |
|---|---|
Water with texture | 0.5 - 3 sec. |
Smooth water-Silky effect | From 5 sec. - |
Water reflections | From 10 sec.- |
Water whirls | 5-30 sec. |
Slow-moving clouds | From 120 sec. - |
Fast-moving clouds | From 15 sec. - |
Sharp stars & Milky Way | 12 - 25 sec. |
Star trails | From 30 sec. - |
Meteors | 3 - 25 sec. |
Static Northern Lights | 8 - 25 sec |
Dynamic Northern Lights | 0.5 - 8 sec. |
BEST SHUTTER SPEED FOR LONG EXPOSURE LANDSCAPE PHOTOGRAPHY |
|
Some extra tips for long exposure landscape photography
In addition to the steps described above, below you can find some extra tips for long exposure landscape photography:
- Use a good tripod: It’s important to say it again- the sturdier the tripod, the more chances you’ll have to take sharper images when capturing long expo landscape shots.
- Don’t use cheap quality lens filters: To avoid light leaks, color casts, vignetting, and other unwanted side effects, make sure you’re using good quality lens filters. It doesn’t make sense to spend a fortune on a top-notch lens and then pair it with a bad quality piece of glass.
- Remove the camera strap to avoid vibrations: In windy conditions, the camera strap can hit your camera and tripod legs, producing vibrations.
- Use Photoshop for doing long exposure landscape photography without filters. Filters are recommended, but there’s a way to leave them out of the bag if you use a technique called “Stacking” in Photoshop.
- Deactivate the long exposure noise reduction when you’re shooting at night. Otherwise, you won’t be able to use your camera for a period of time just about equal to the exposure that you have just taken.
- And last but not least, be creative with your long exposure landscape photography! There are endless possibilities to create new and original images. Just check some of the best long exposure landscape photography ideas below and take a look at our general long exposure photography guide to see more tips and examples.
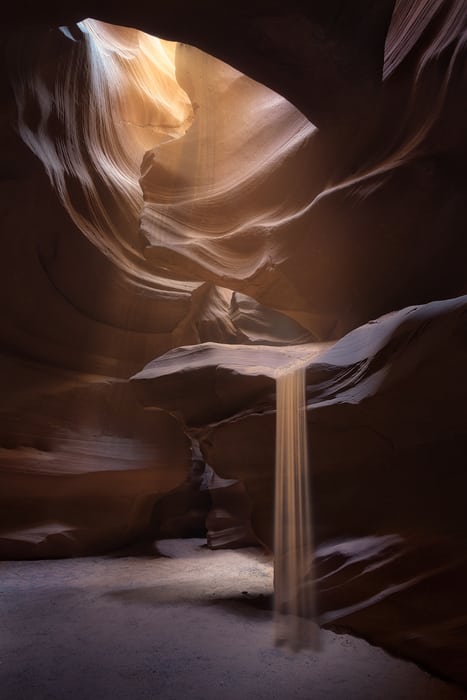
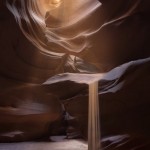
Sandfall. Antelope Canyon, USA – 2.5 sec, f/8, ISO 200
Long exposure landscape photography examples
To give you some inspiration, below you’ll find a series of different long exposure landscape photography examples:
Long exposure landscape photography examples – Waterfalls
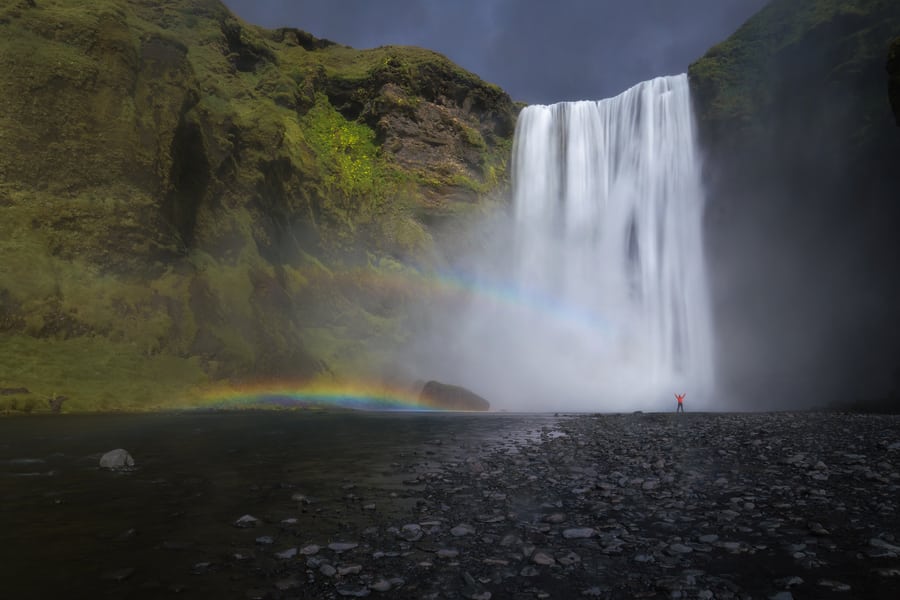
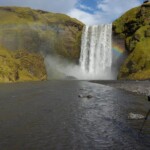
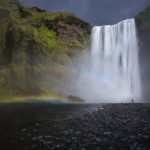
Skogafoss, Iceland – 0.5 sec, f/16, ISO 100
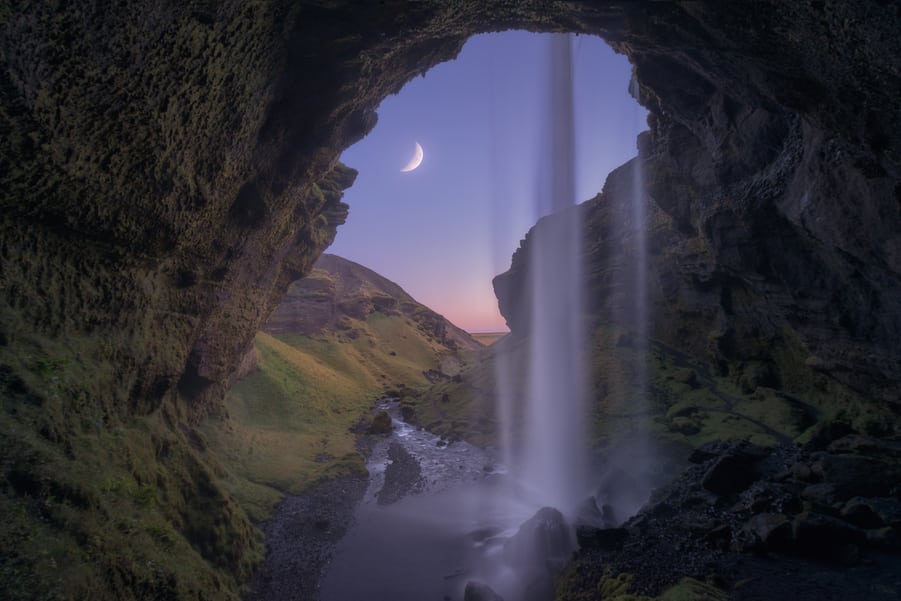
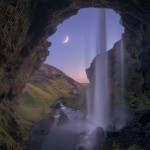
Kvernufoss, Iceland – 0.5 sec, f/8, ISO 800
Long exposure landscape photography examples – Rivers
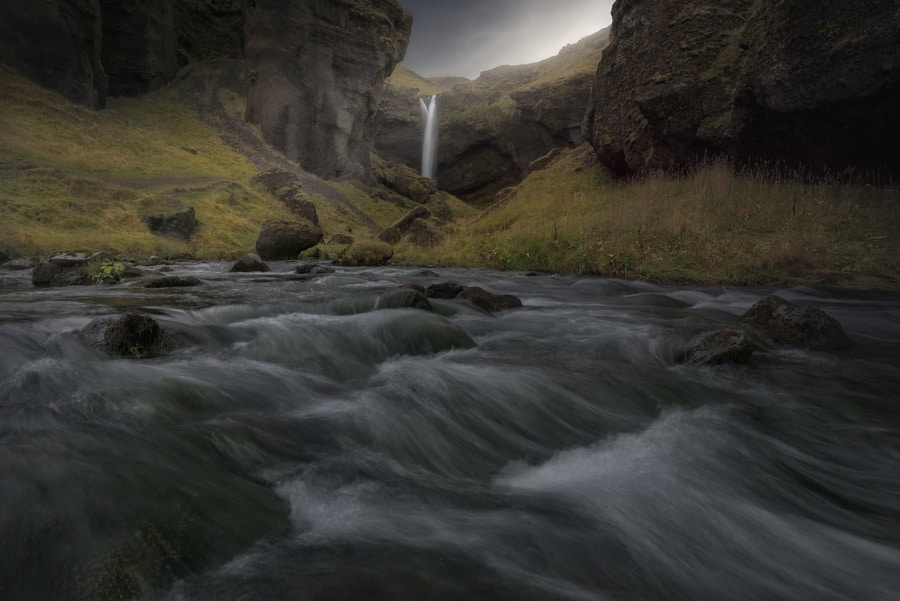
Kvernuhólsá River, Iceland – 1/10 sec, f/11, ISO 320
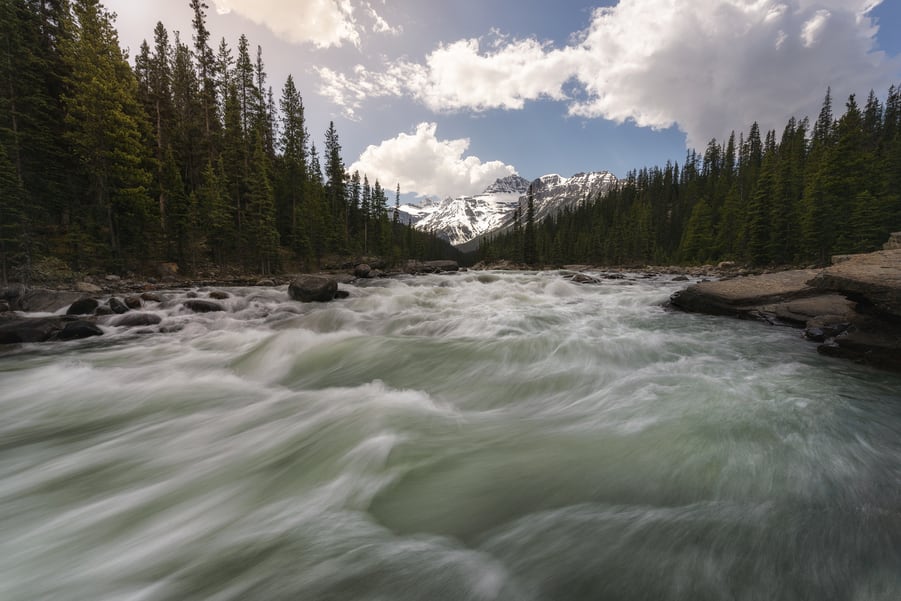
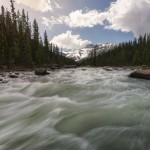
Mistaya River, Canada – 1/5 sec, f/11, ISO 100
Long exposure landscape photography examples – Creeks & Streams
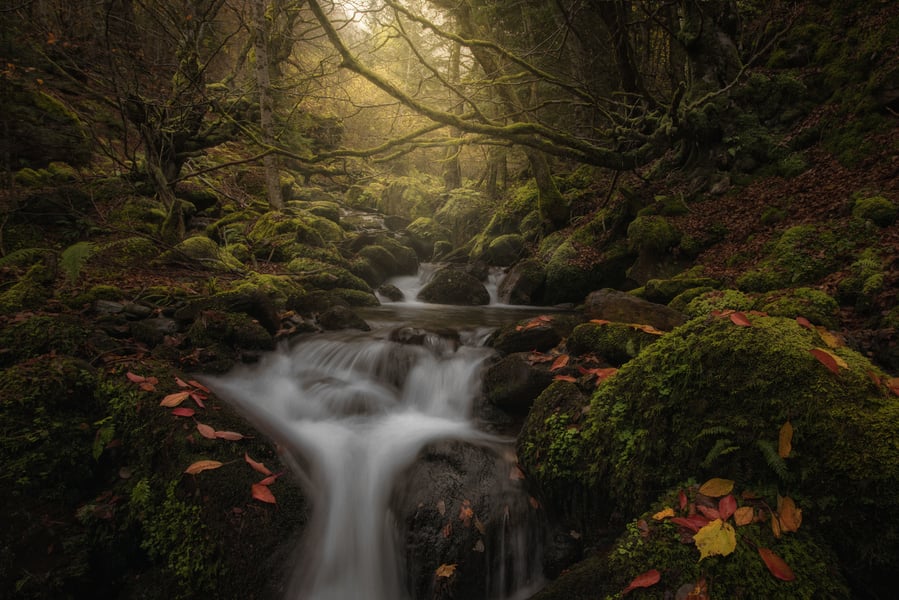
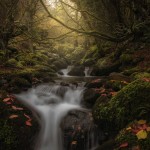
Val D’Aran, Spain – 0.6 sec, f/11, ISO 100
Long exposure landscape photography examples – Waves
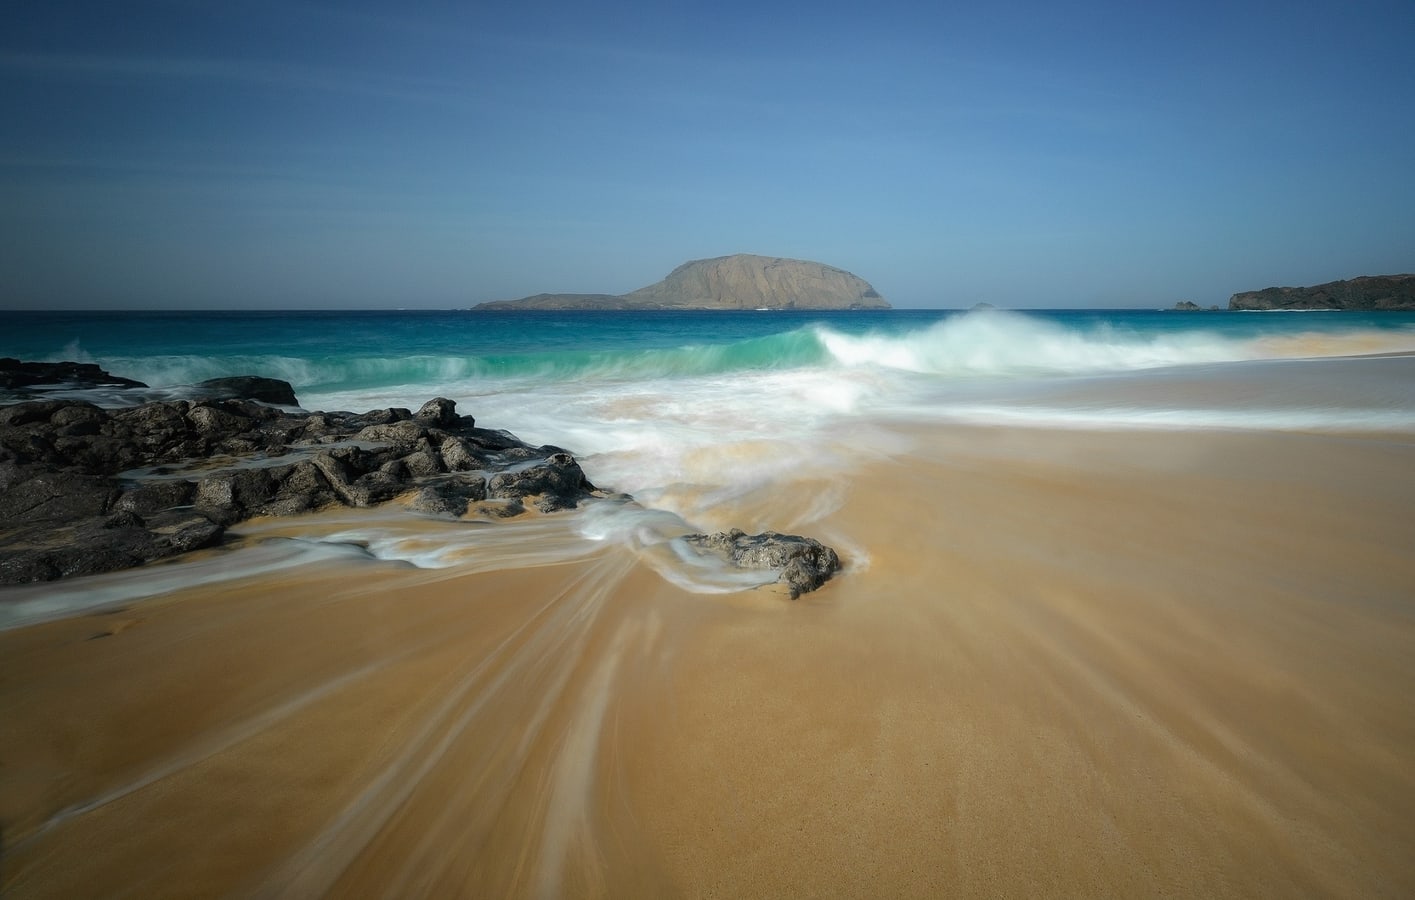
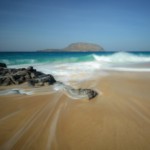
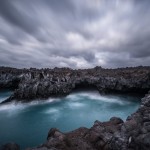
The Canary Islands, Spain – 1.3 sec, f/8, ISO 500
Long exposure landscape photography examples – Seascapes
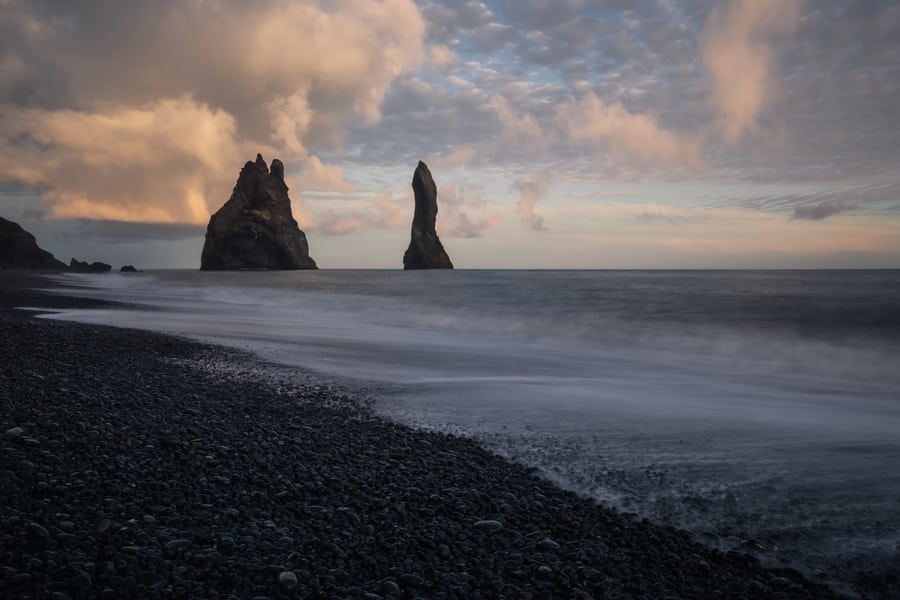
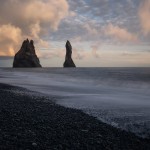
Reynisfjara beach, Iceland – 3 sec, f/22, ISO 200
Long exposure landscape photography examples – whirls
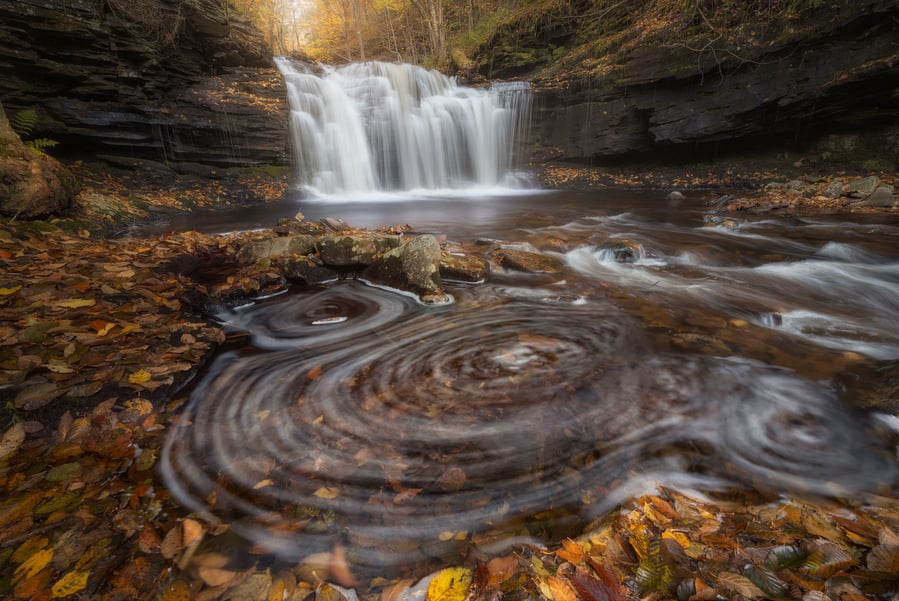
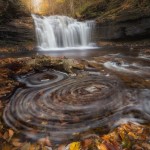
Ricketts Falls, Pennsylvania – 25 sec, f/11, ISO 100 + 6 Stop ND filter + Polarizer
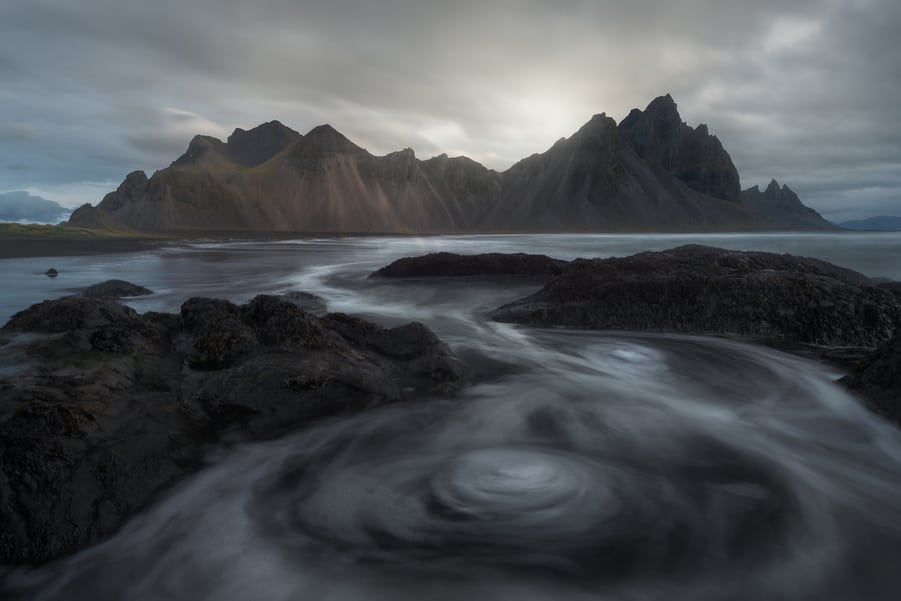
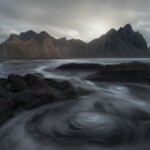
Stokksnes, Iceland – 8 sec, f/11, ISO 100
Long exposure landscape photography examples – Lakes
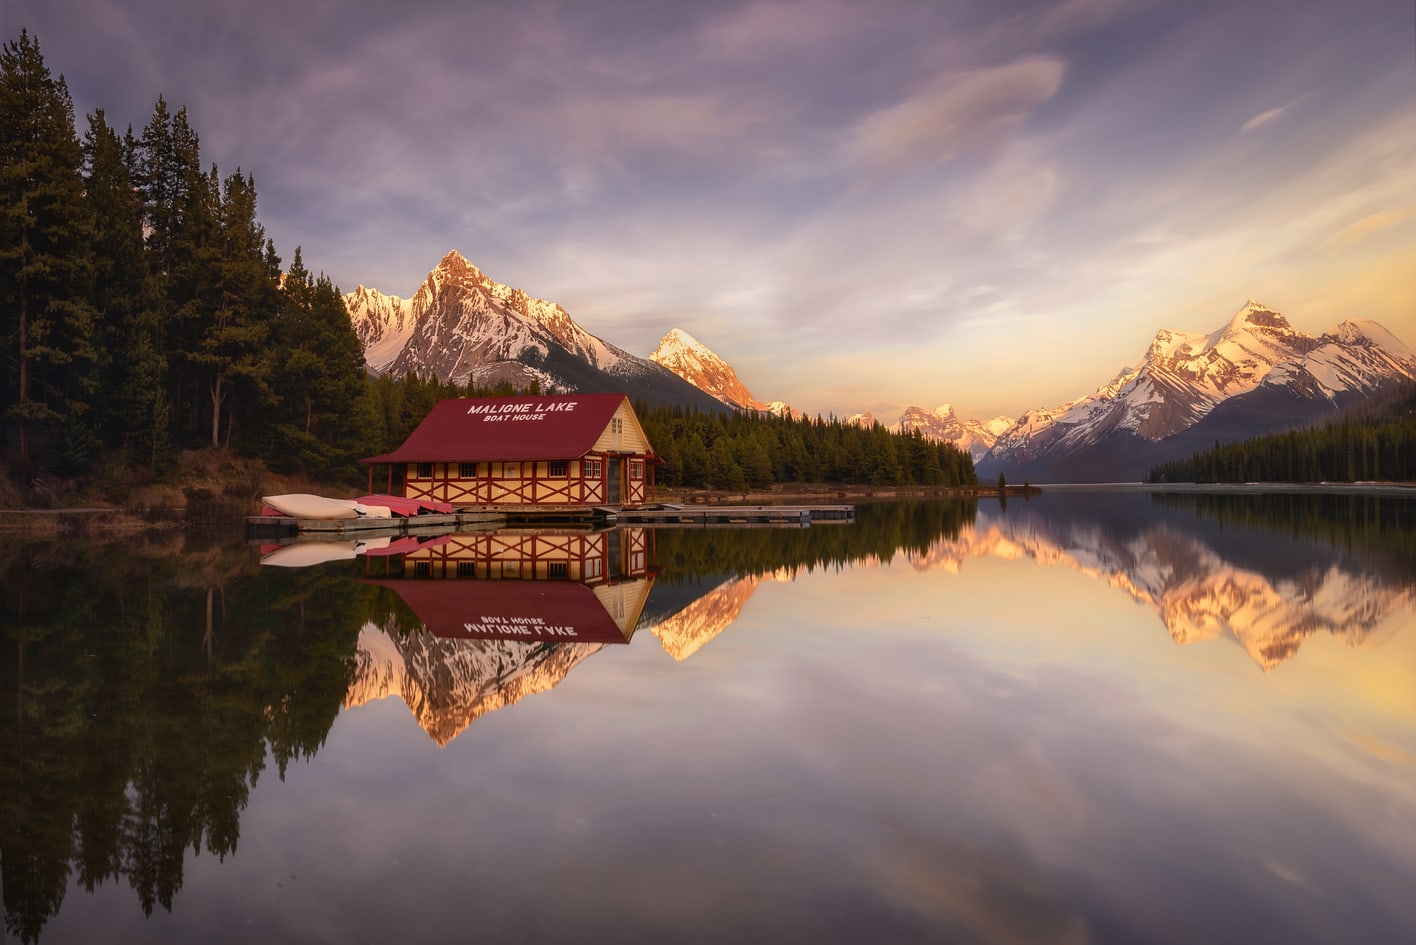
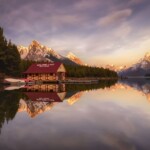
Maligne Lake, Canada – 0.6 sec, f/11, ISO 100
Long exposure landscape photography examples – High Clouds
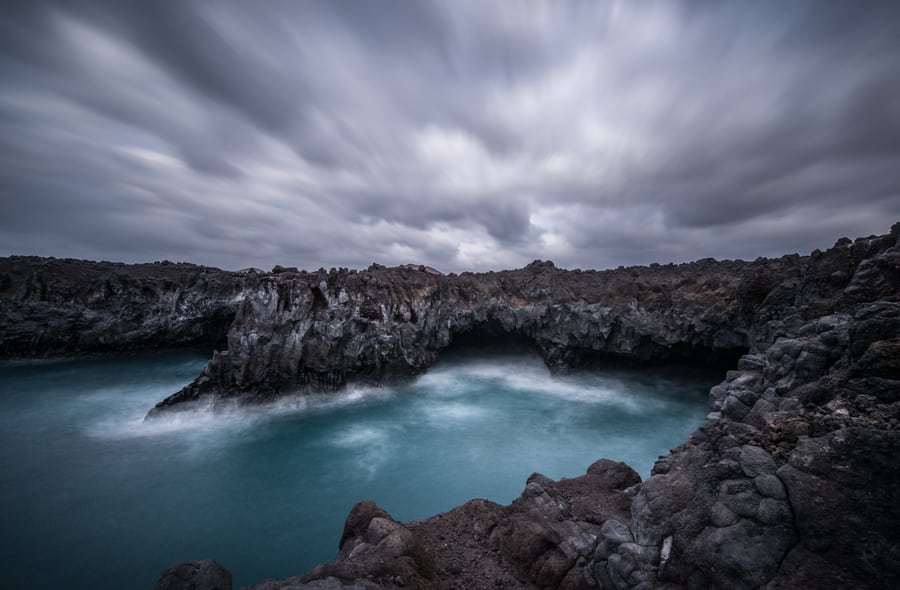
Canary Islands, Spain – 25 sec. f/9, ISO 400
Long exposure landscape photography examples – Sea of Clouds
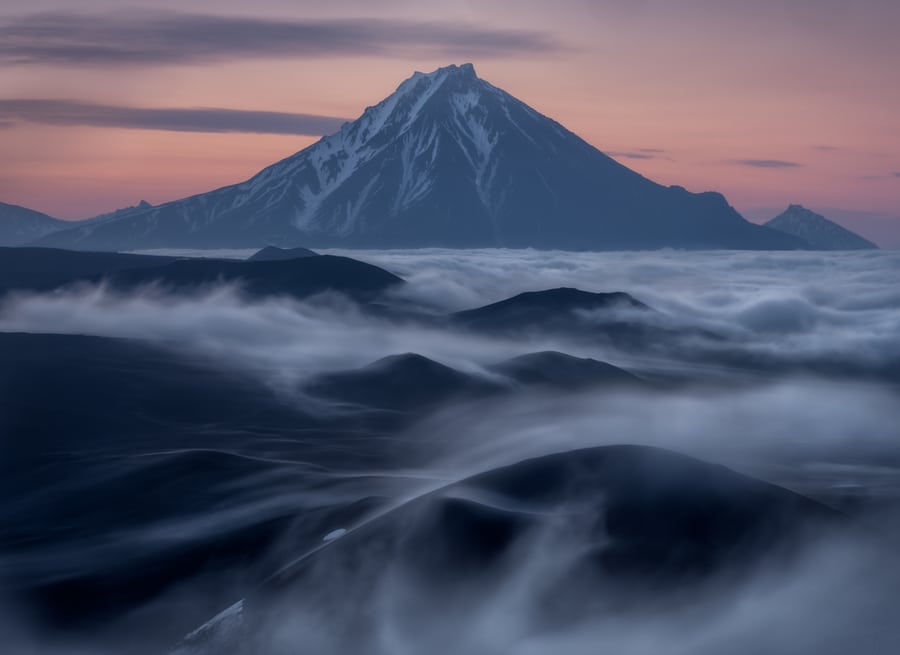
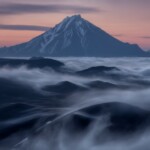
Kamchatka peninsula, Russia – 15 sec. f/32, ISO 100
Long exposure landscape photography examples – Star Trails
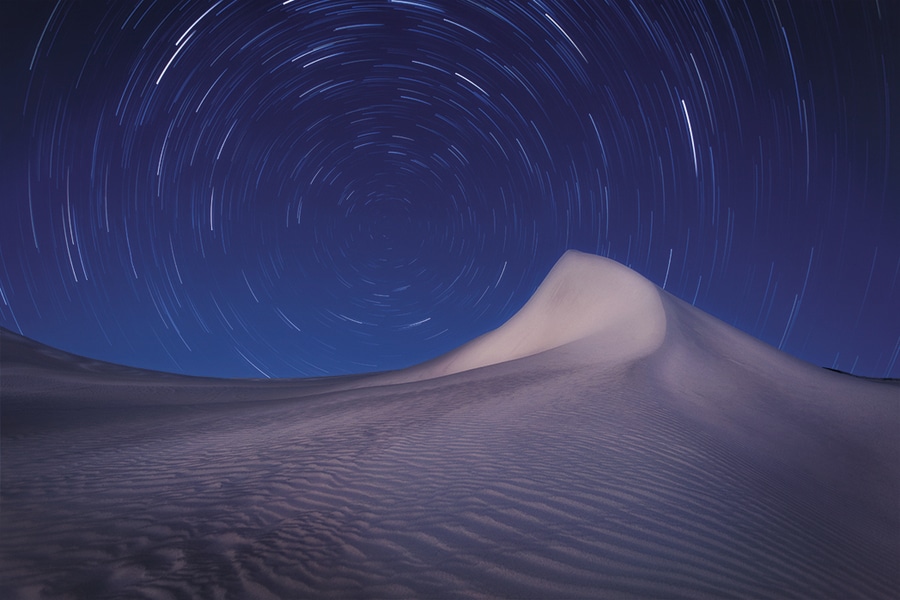
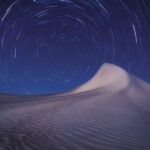
Lancelin Dunes, Australia – 10sec. f/4, ISO 400 x 300 photos
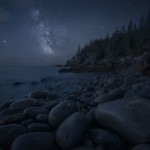
Long exposure landscape photography examples – Milky Way
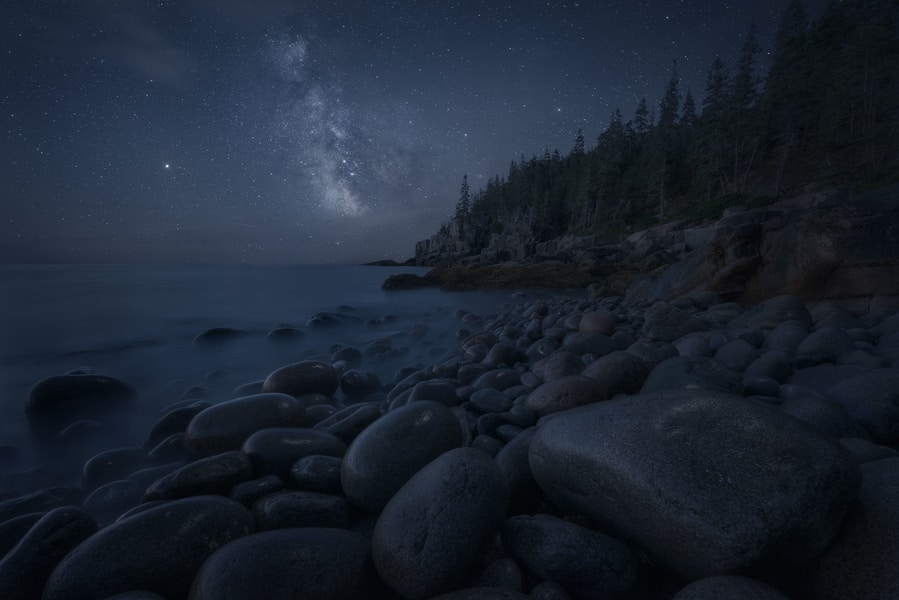
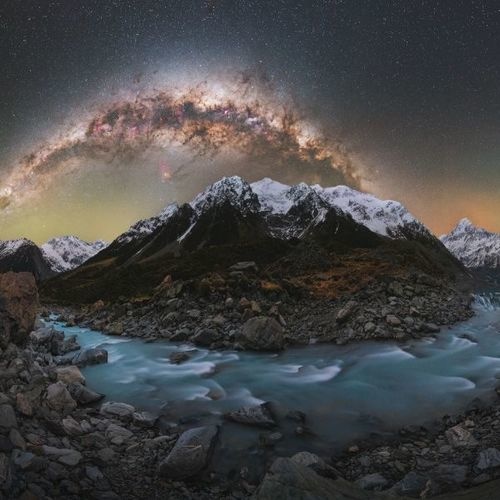
Acadia NP, Maine, USA – 25 sec, f/2.8, ISO 5000
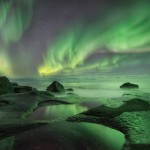
Long exposure landscape photography examples – Northern Lights
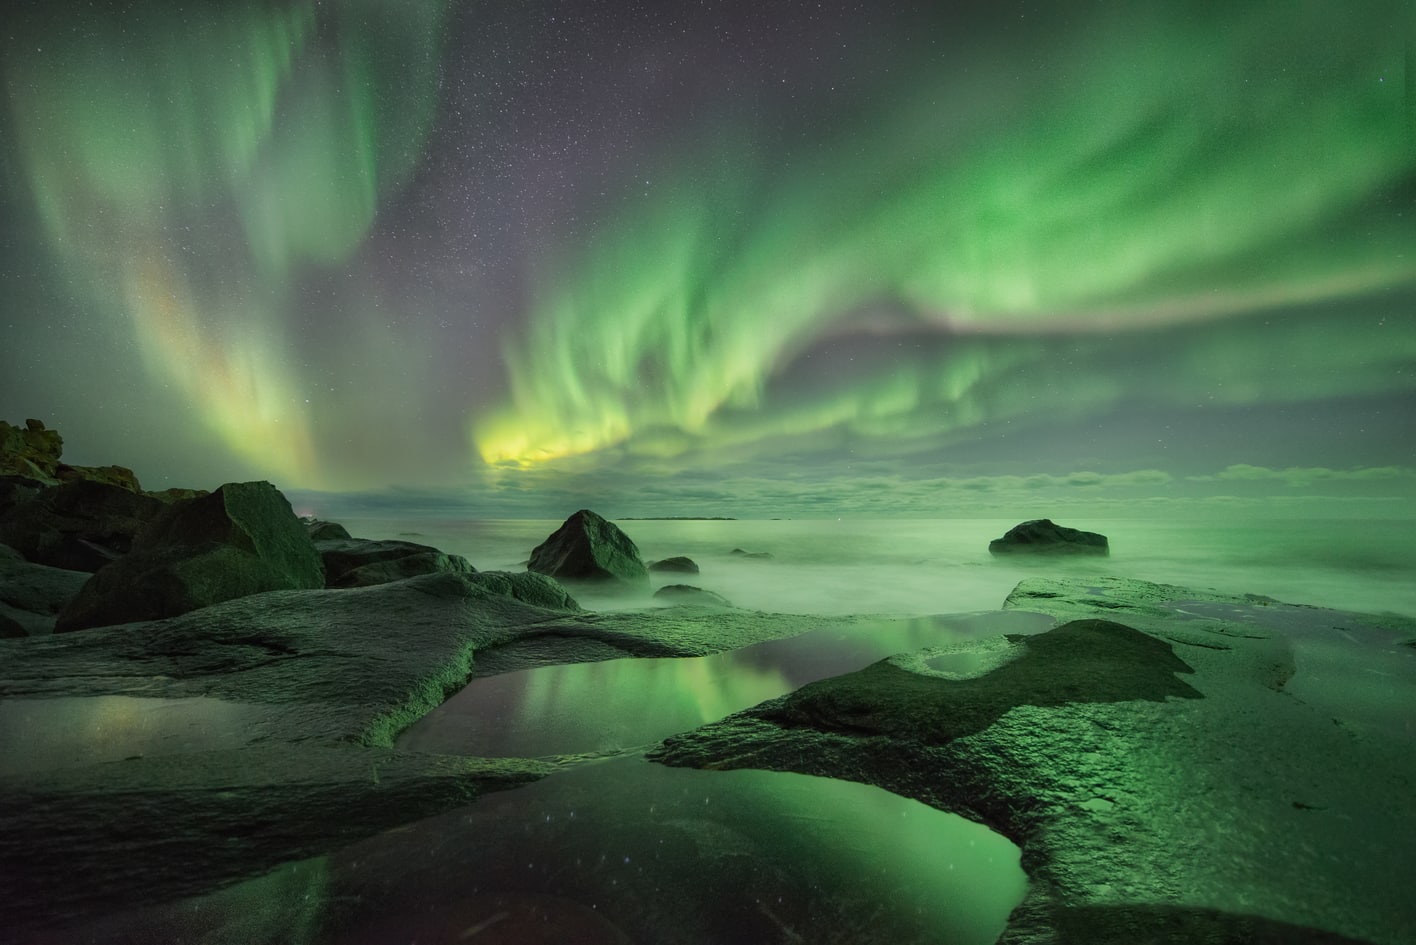
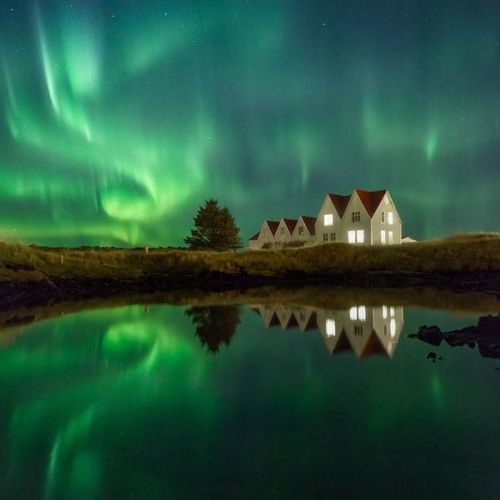
Lofoten Islands, Norway – 4 sec, f/2.8, ISO 6400
Conclusion
To wrap up this long exposure landscape photography guide, I just want to encourage you to go out and shoot.
In the beginning, all the planning, set up, and settings might seem overwhelming. Just take it slow, and soon you’ll see how easy it is to take breathtaking landscape images using the long exposure technique.
Make sure you follow all the long exposure landscape photography tips listed above, and, if you’ve got any questions or would like to add any other tip, please let us know in the comment section!
Happy shooting!



Hi,
When you take photos of waterfalls, where is your focus point?
Hyperfocal distance unless the waterfall/first foregound is too close and it requires a focus stacking.
Thanks Dan for ur useful tips and I am so glade by ur deep knowlege & experience of photography.
I am just lerning stage in photography.
Thanks for your nice words!
Thanks, I enjoy your tips
Thanks Nate! Glad to see you found our long exposure tips useful! 😉